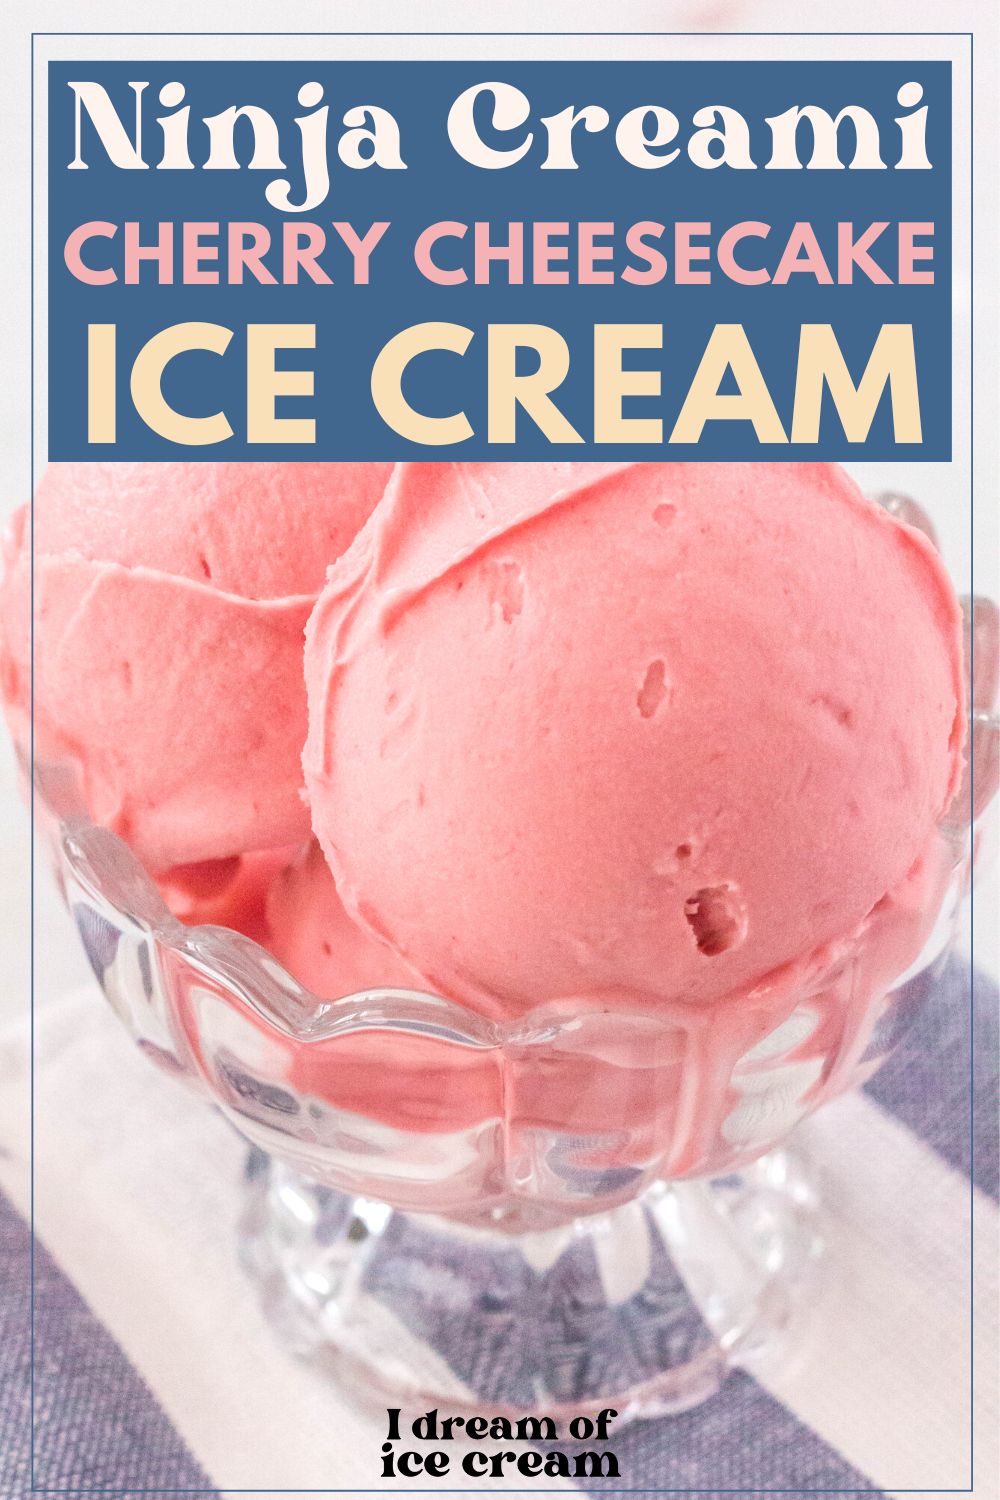
Making cherry cheesecake ice cream in the Ninja Creami is as easy as pie!
All you need is a few ingredients to enjoy Ninja Creami cherry cheesecake ice cream, thanks to this easy recipe.

Note: This post may contain affiliate links for your convenience. You can read our full disclosure policy here.
If you have a Ninja Creami ice cream maker, you already know that one of the best things about it is the ability to make countless varieties of frozen treats.
From fruit sorbets to high-protein desserts, the great thing about this machine is that you can easily customize your desserts with simple ingredients.
I love to make Ninja Creami recipes with pie filling and Ninja Creami recipes with pudding mix, so I decided to combine the two in this easy recipe for Ninja Creami cherry cheesecake ice cream!
It’s a simple way to enjoy a decadent treat of homemade ice cream,but with very minimal effort on your part.
This is one of our favorite Ninja Creami cherry recipes, and once you try it, you’ll see why!

Easy Cherry Cheesecake Ice Cream Made in the Ninja Creami
You’re going to love how effortless it is to make this easy dessert!
When I want something sweet, I don’t want to mess with tempering egg yolks or trying to find obscure ingredients.
So I kept things simple by including main ingredients that are easy to find and keep on hand in your pantry.
I used instant cheesecake pudding mix in the ice cream base, which not only gives it the classic tang we associate with cheesecake, but also helps to stabilize the mixture and make it nice and creamy.
The sweet cherry flavor comes from cherry pie filling, which simply could not be easier!
I use cherry pie filling in my Ninja Creami cherry ice cream as well as my Ninja Creami cherry limeade sorbet, so I knew it would be a great way to make this sweet treat, too.
Of course, you could always take it a step further by mixing in some graham cracker pieces to mimic a crust, or some chocolate chips to make it extra decadent.
Be sure to try my Ninja Creami dark sweet cherry sherbet, too!
Want another cheesecake-inspired recipe? Try making Ninja Creami strawberry cheesecake ice cream.

How to Make Ninja Creami Cherry Cheesecake Ice Cream
It’s easy to make this flavorful frozen treat with just a few basic ingredients.
Ingredients You’ll Need:
- Whole milk
- Dry instant cheesecake-flavored pudding mix
- Heavy cream
- Cherry pie filling
- Vanilla extract
- Optional Mix-ins, such as graham crackers or chocolate chips

How to Make it:
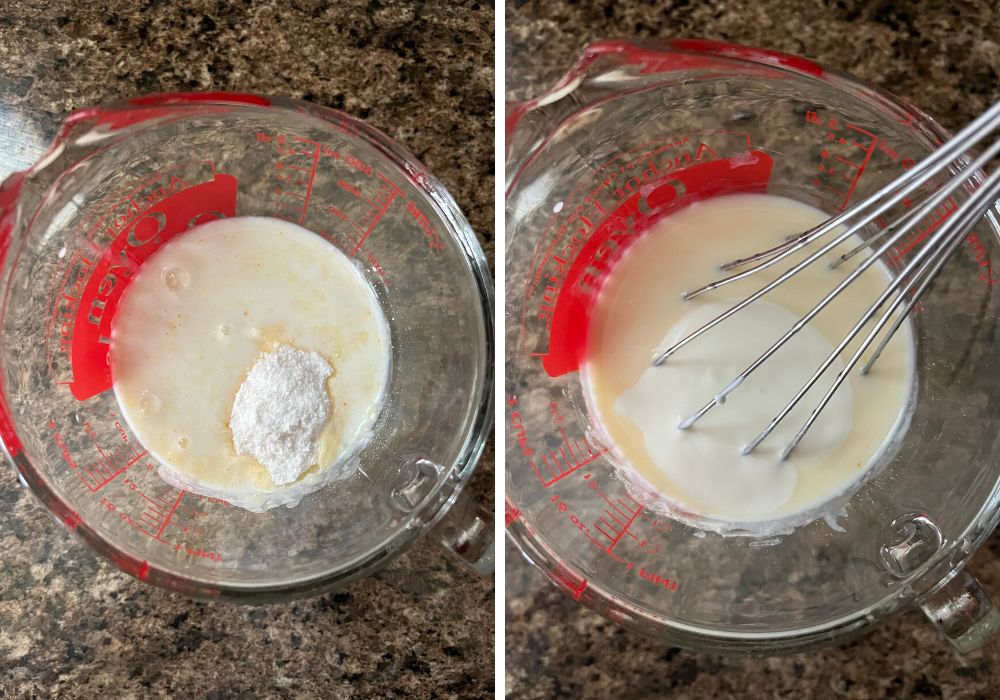
Dissolve the pudding mix. You’ll start by whisking together the milk and dry pudding mix. You’ll want to stir it until the pudding mix dissolves.
Then add in the heavy whipping cream and whisk to combine.

Finish the base. Add in the cherry pie filling and vanilla extract and use a spoon or spatula to mix it together well.
Pour the ice cream base into a Ninja Creami pint container and close the lid.


Freeze. Transfer the pint container to a level surface in your freezer and freeze for at least 24 hours.
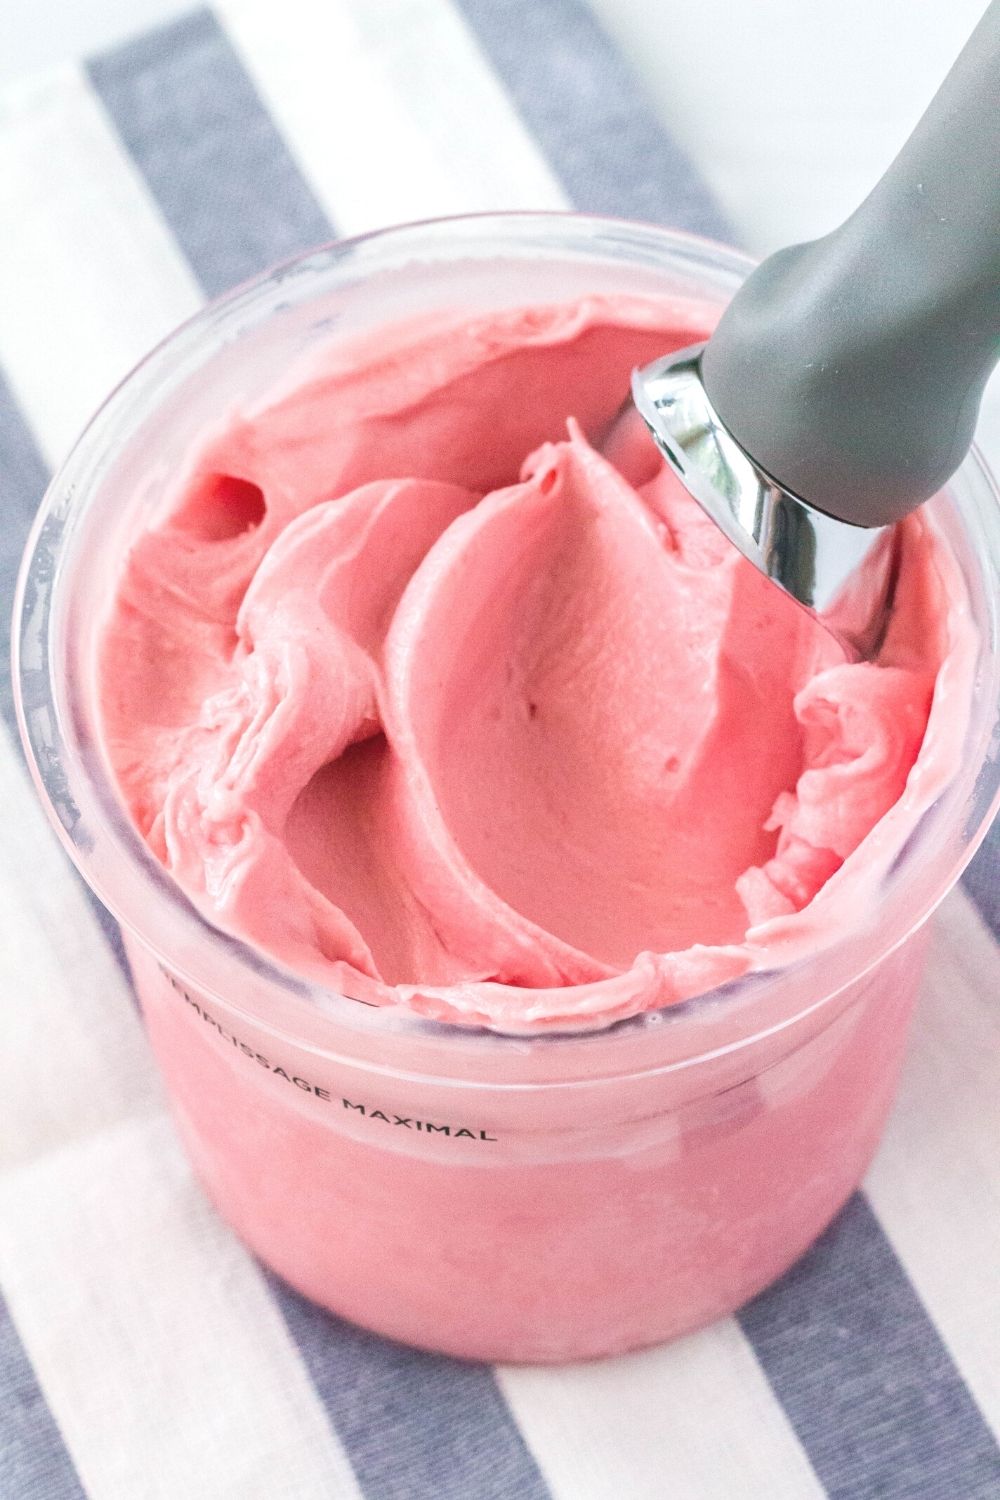
Spin. Remove the pint from the freezer and take off the lid. Place the container into the outer bowl apparatus and secure the outer bowl lid.
Place the outer bowl into the Ninja Creami machine. Use the Ice Cream button to let Ninja’s Creamify technology get to work.


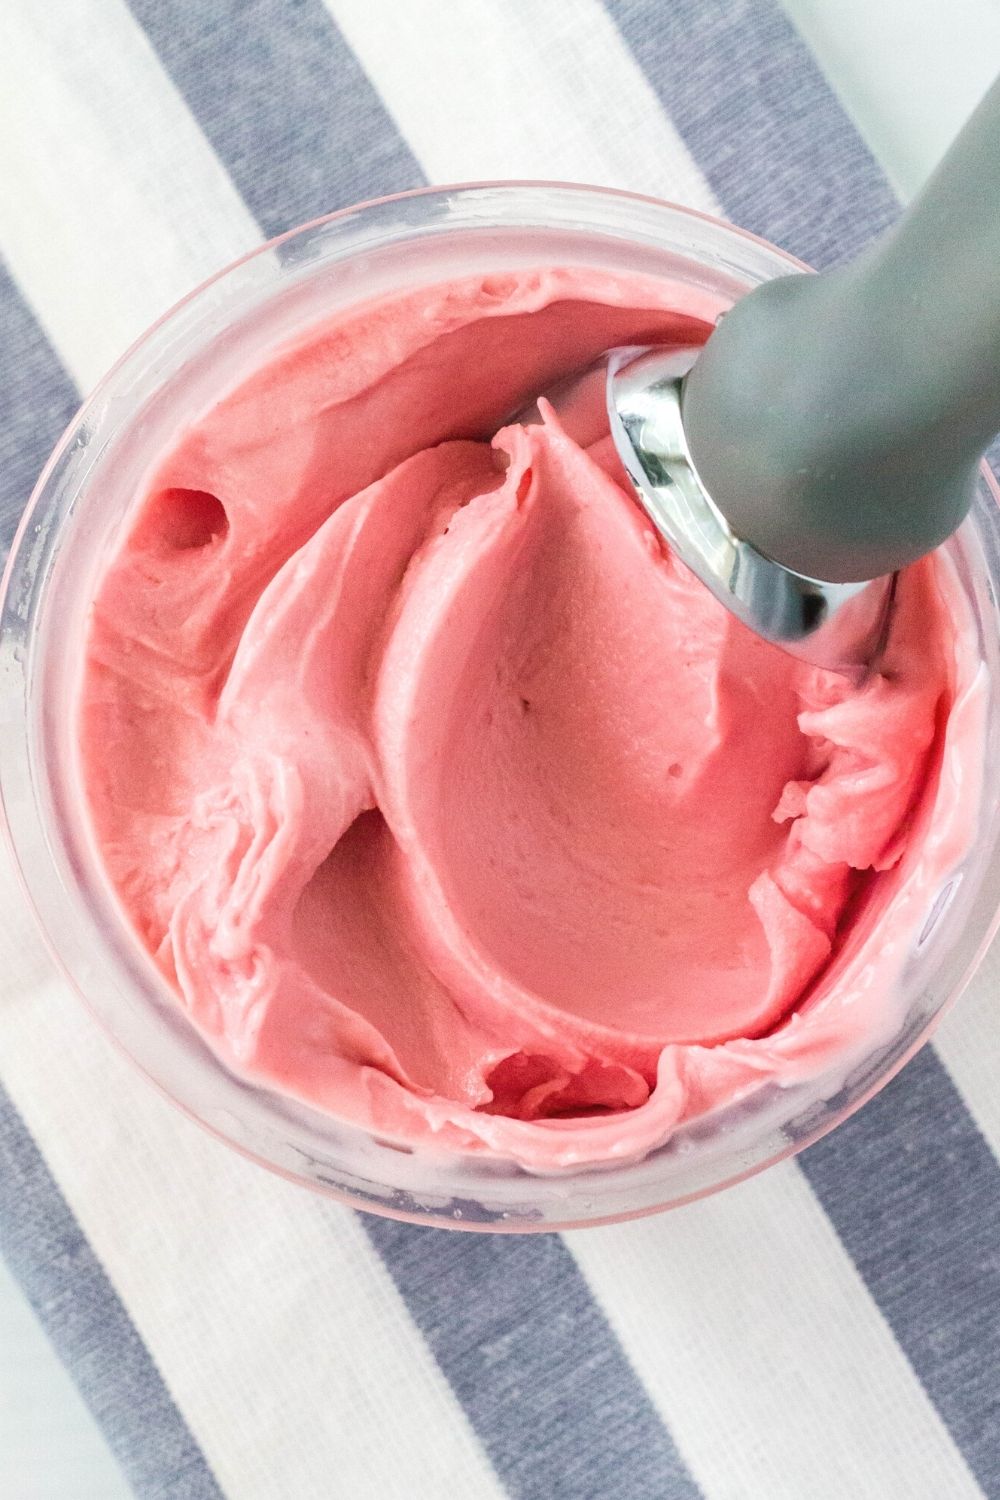
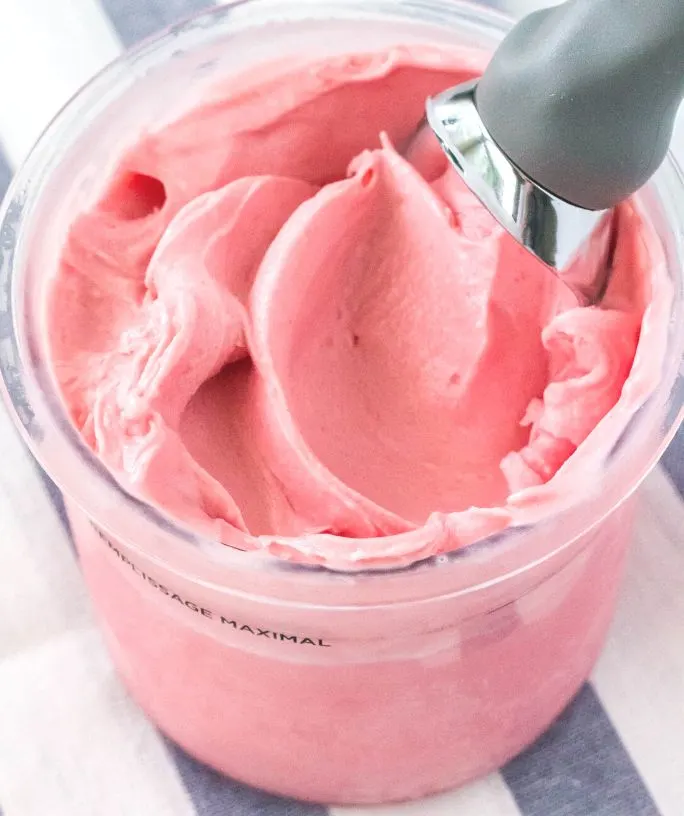
Check consistency. Remove the pint from the machine and check the consistency of the ice cream. If it appears crumbly, insert it back into the machine and use the Re-spin function.
If it’s still crumbly after that, add a tablespoon of milk and Re-spin again to make it nice and creamy.


Optional: Add mix-in if desired. If you’re adding any mix-ins, create a well in the ice cream that’s about 1/2-inch wide and extends all the way to the bottom of the pint.
Add your mix-in pieces to the well, then return the pint to the machine and use the Mix-in button to incorporate the pieces into the ice cream mixture.

Notes and Adaptations:
- If you need to make this ice cream dairy-free for your dietary needs, you can try using a non-dairy milk instead of whole milk, such as unsweetened coconut milk, almond milk, oat milk, etc. You can use coconut cream instead of heavy cream.
- You’ll only be using half of a small box of instant cheesecake pudding, so you can either double the recipe and make two pints, or save the remaining pudding mix for another batch later.
- I have not tested this recipe with sugar free instant pudding mix or sugar free pie filling, but I think it would likely work fine. You may want to use the Lite Ice Cream function if you go the low sugar route.
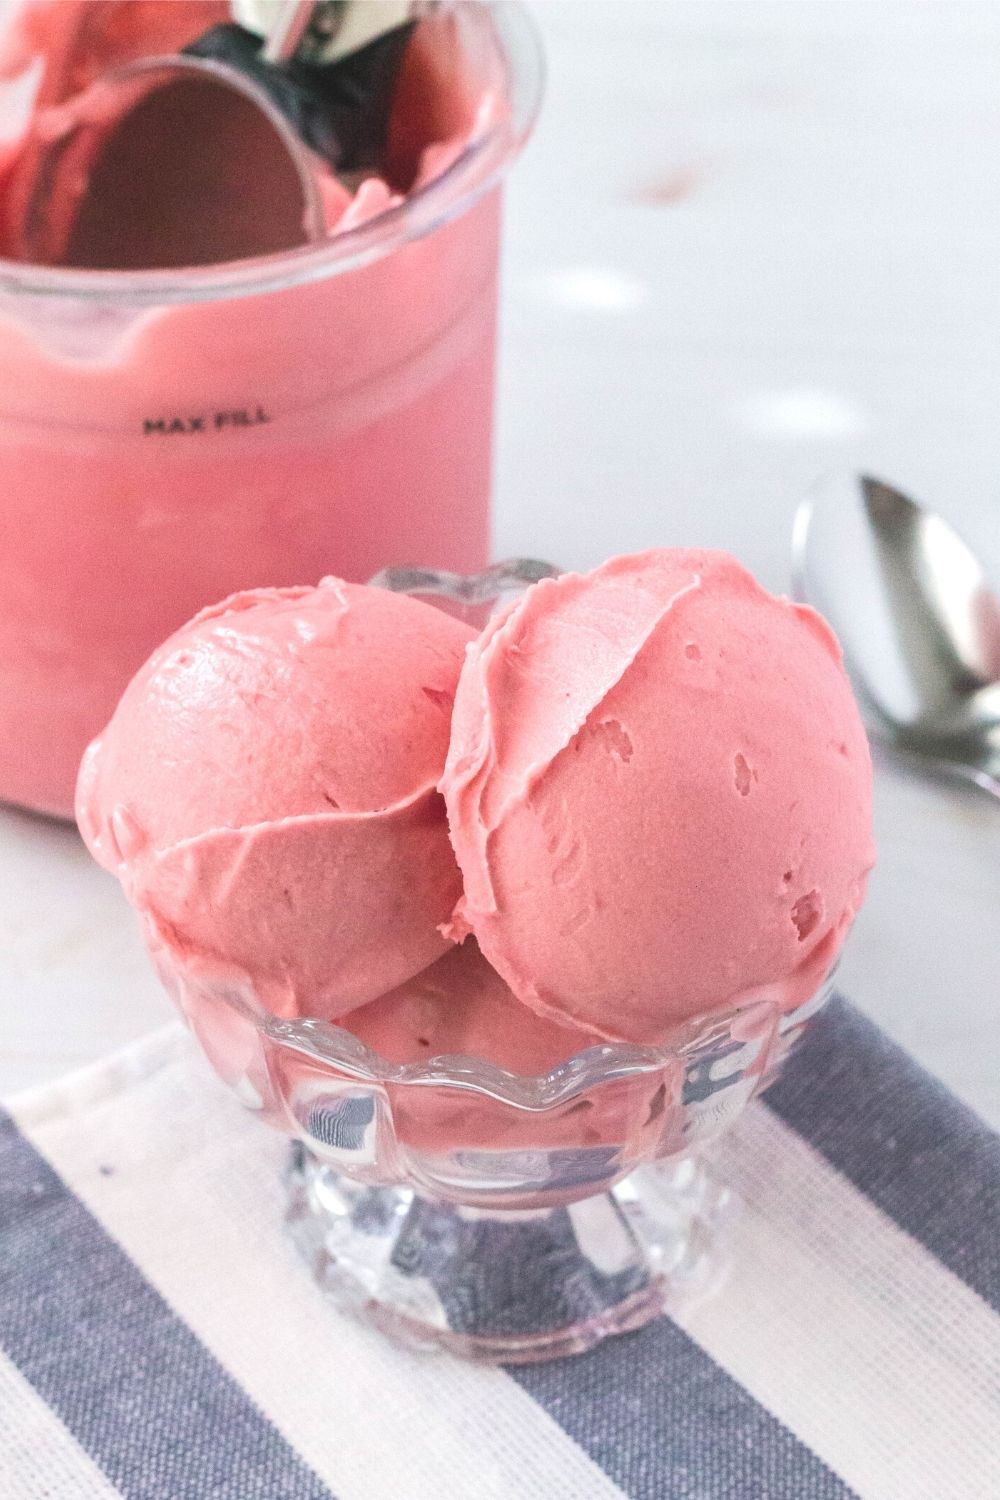
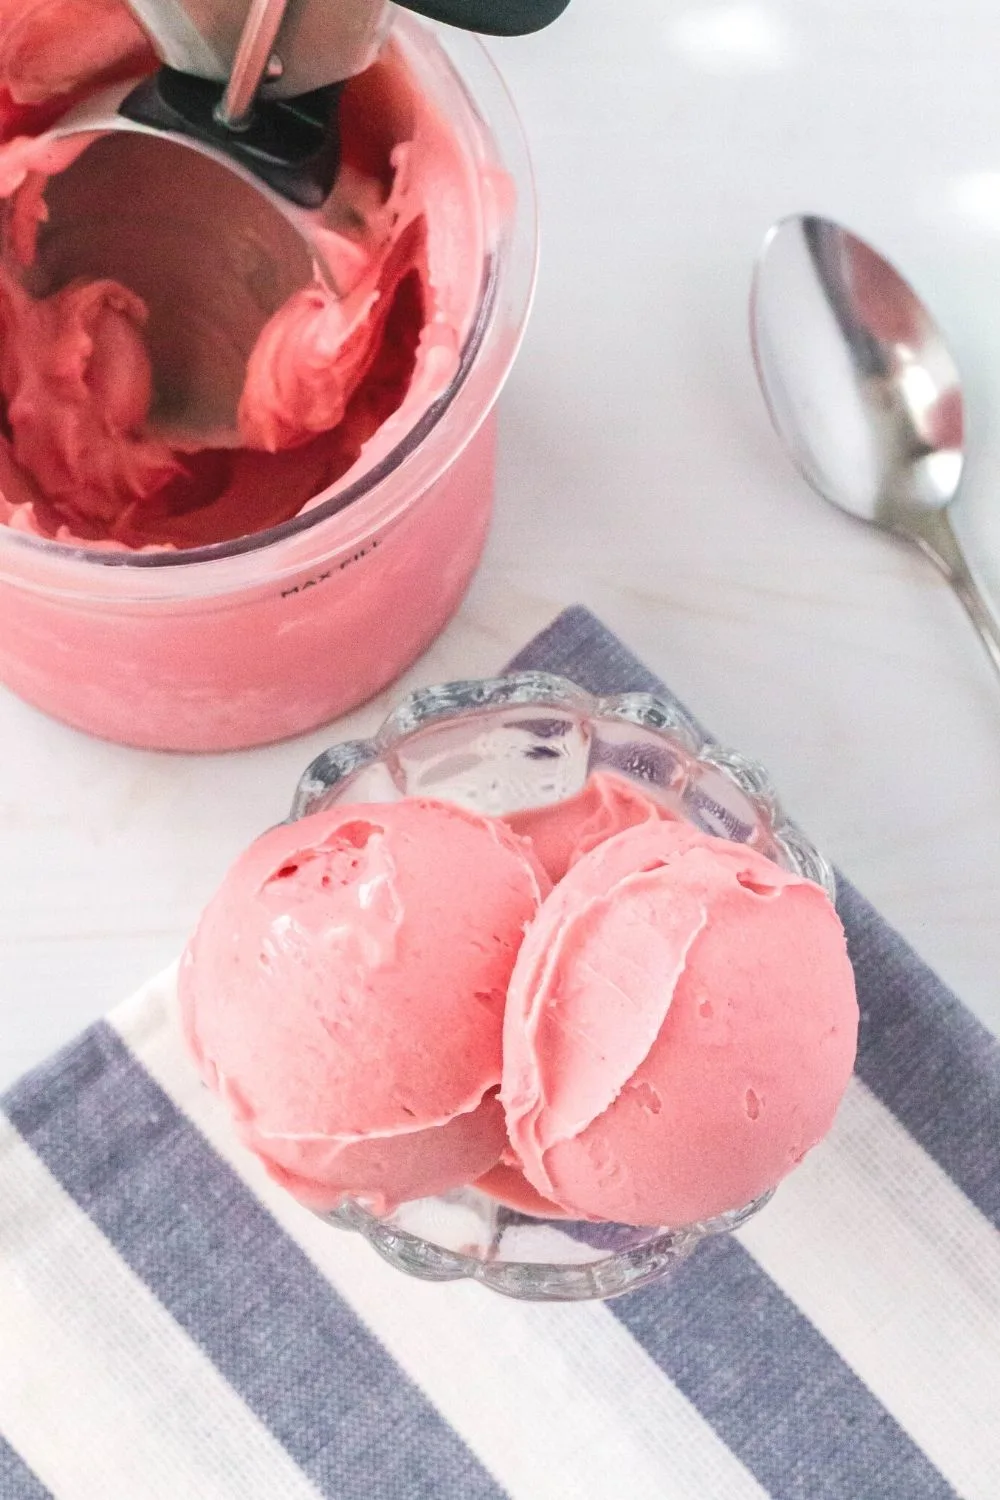
- If you’re enjoying leftovers of this easy ice cream recipe, I suggest letting the pint container sit out at room temperature for about 10 minutes so it can soften slightly before scooping.

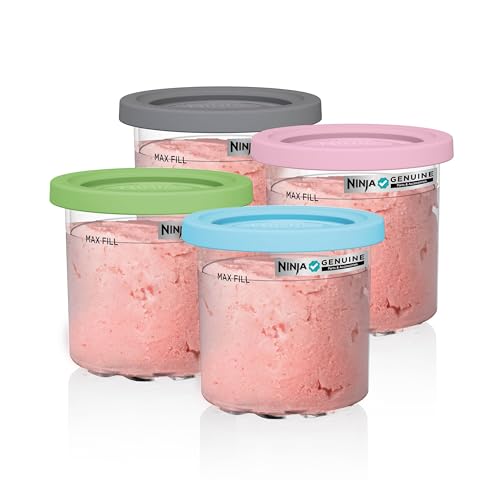
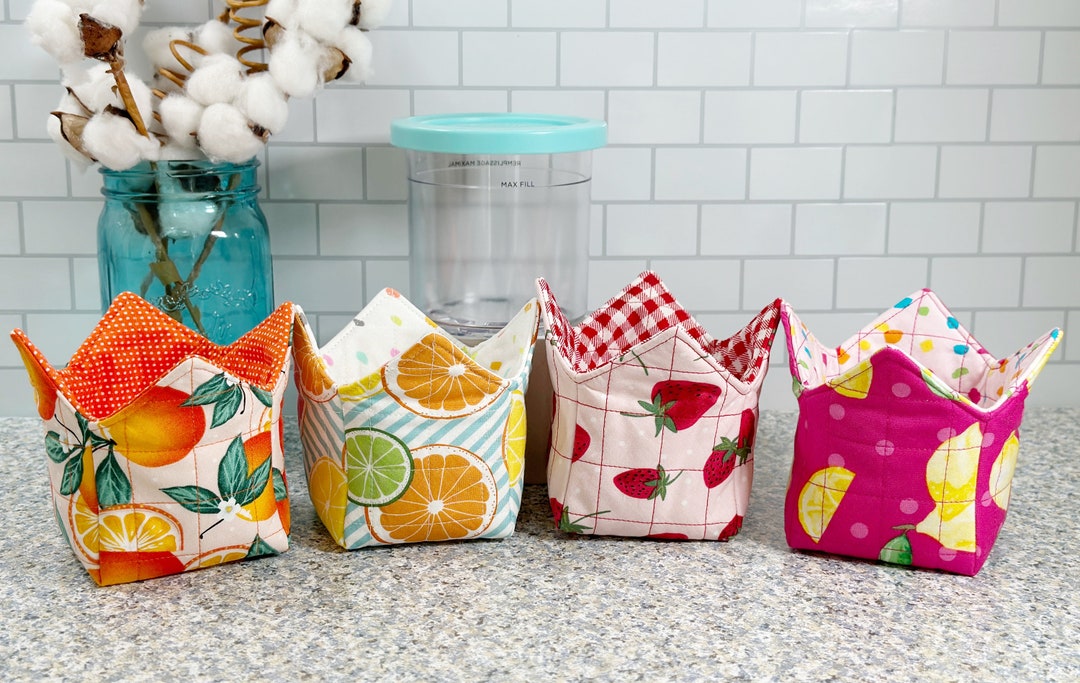
Recommended Equipment:
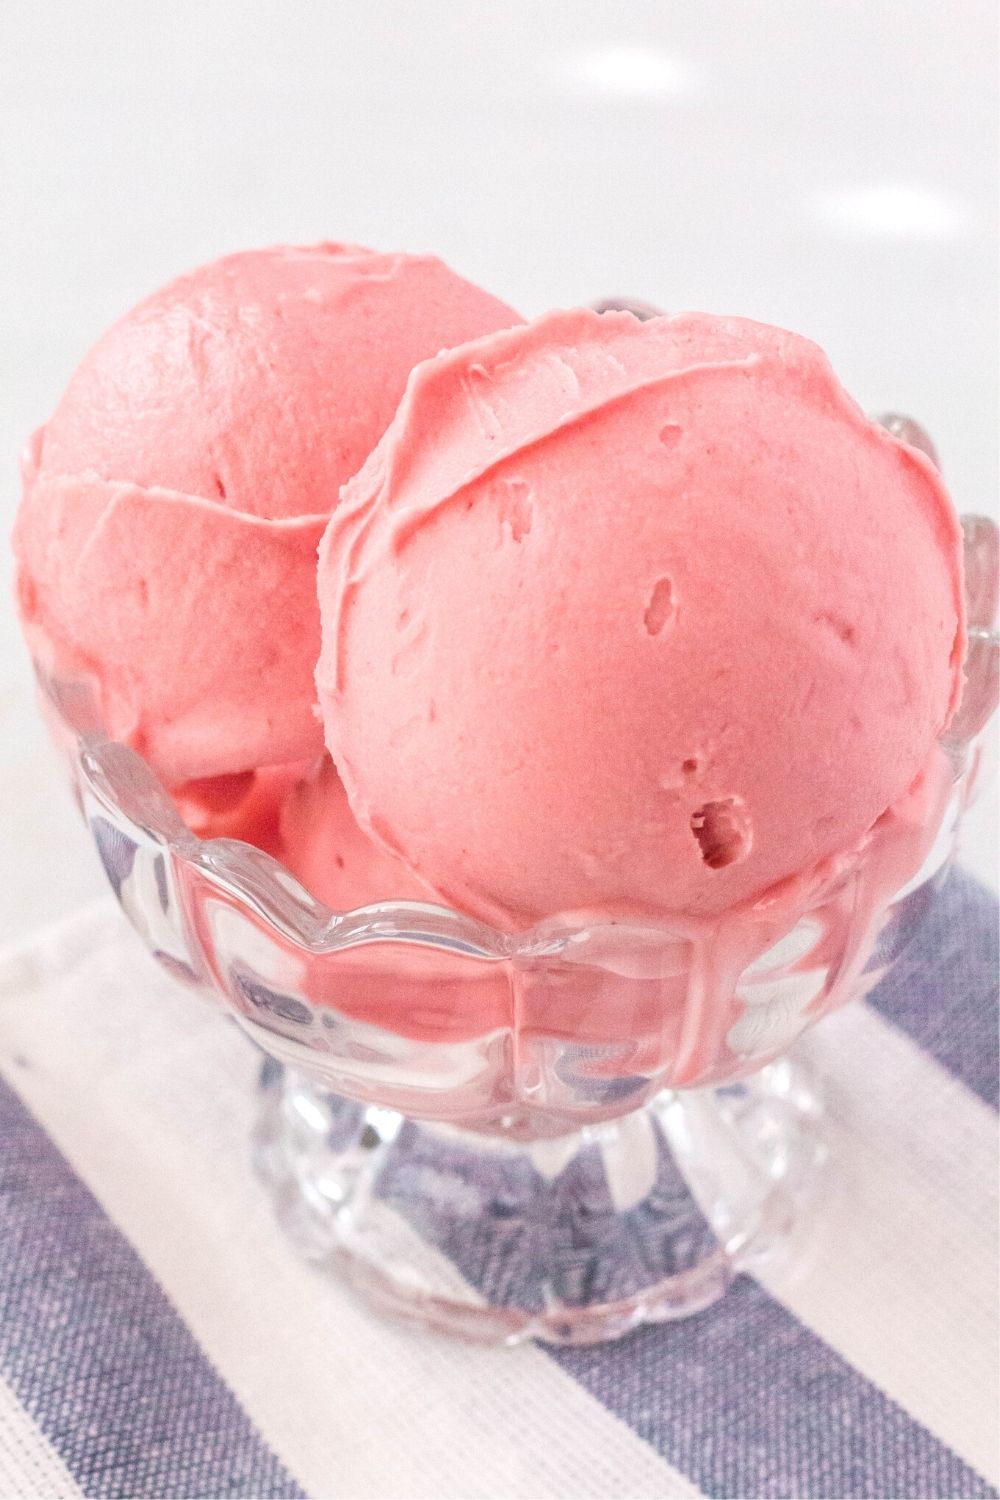
Ninja Creami Cherry Cheesecake Ice Cream

Enjoy the flavor of cherry cheesecake in ice cream form with this easy Ninja Creami recipe.
Ingredients
- 3/4 cup whole milk
- 4 TBSP instant cheesecake pudding mix
- 1/2 cup heavy cream
- 1/2 tsp vanilla extract
- 3/4 cup cherry pie filling
Instructions
- In a small bowl or large liquid measuring cup, whisk together milk and pudding mix until powder has dissolved.
- Add heavy cream and mix to combine.
- Add vanilla extract and cherry pie filling, using a spoon or spatula to mix together well.
- Pour mixture into a Ninja Creami pint container and close the lid. Transfer the container to a level surface in your freezer and freeze for at least 24 hours.
- Remove pint from freezer and take off lid. Place the pint into the outer bowl apparatus and secure the outer bowl lid.
- Add the outer bowl to the Ninja Creami machine and lock into place.
- Use the Ice Cream function to process the ice cream.
- Remove the pint from the machine and check the texture of the ice cream. If it appears crumbly, insert the pint back into the machine and use the Re-spin function. If it's still crumbly after that, add a tablespoon of milk and Re-spin again.
- Optional: If you're adding a mix-in, create a well in the ice cream that's about 1/2-inch wide and extends to the bottom of the pint. Add the mix-in pieces to the well and insert the pint back into the machine. Press the Mix-in button to incorporate.
Notes
- If you need to make this ice cream dairy-free for your dietary needs, you can try using a non-dairy milk instead of whole milk, such as unsweetened coconut milk, almond milk, oat milk, etc. You can use coconut cream instead of heavy cream.
- You'll only be using half of a small box of instant cheesecake pudding, so you can either double the recipe and make two pints, or save the remaining pudding mix for another batch later.
- I have not tested this recipe with sugar free instant pudding mix or sugar free pie filling, but I think it would likely work fine. You may want to use the Lite Ice Cream function if you go the low sugar route.
- If you're enjoying leftovers of this easy ice cream recipe, I suggest letting the pint container sit out at room temperature for about 10 minutes so it can soften slightly before scooping.
Recommended Products
As an Amazon Associate and member of other affiliate programs, I earn from qualifying purchases.


Nutrition Information:
Yield:
4Serving Size:
1/2 cupAmount Per Serving: Calories: 185Total Fat: 12gSaturated Fat: 8gTrans Fat: 0gUnsaturated Fat: 4gCholesterol: 38mgSodium: 58mgCarbohydrates: 16gFiber: 0gSugar: 5gProtein: 2g
Nutrition information is automatically calculated and is not guaranteed for accuracy.
Printable Ninja Creami Recipes
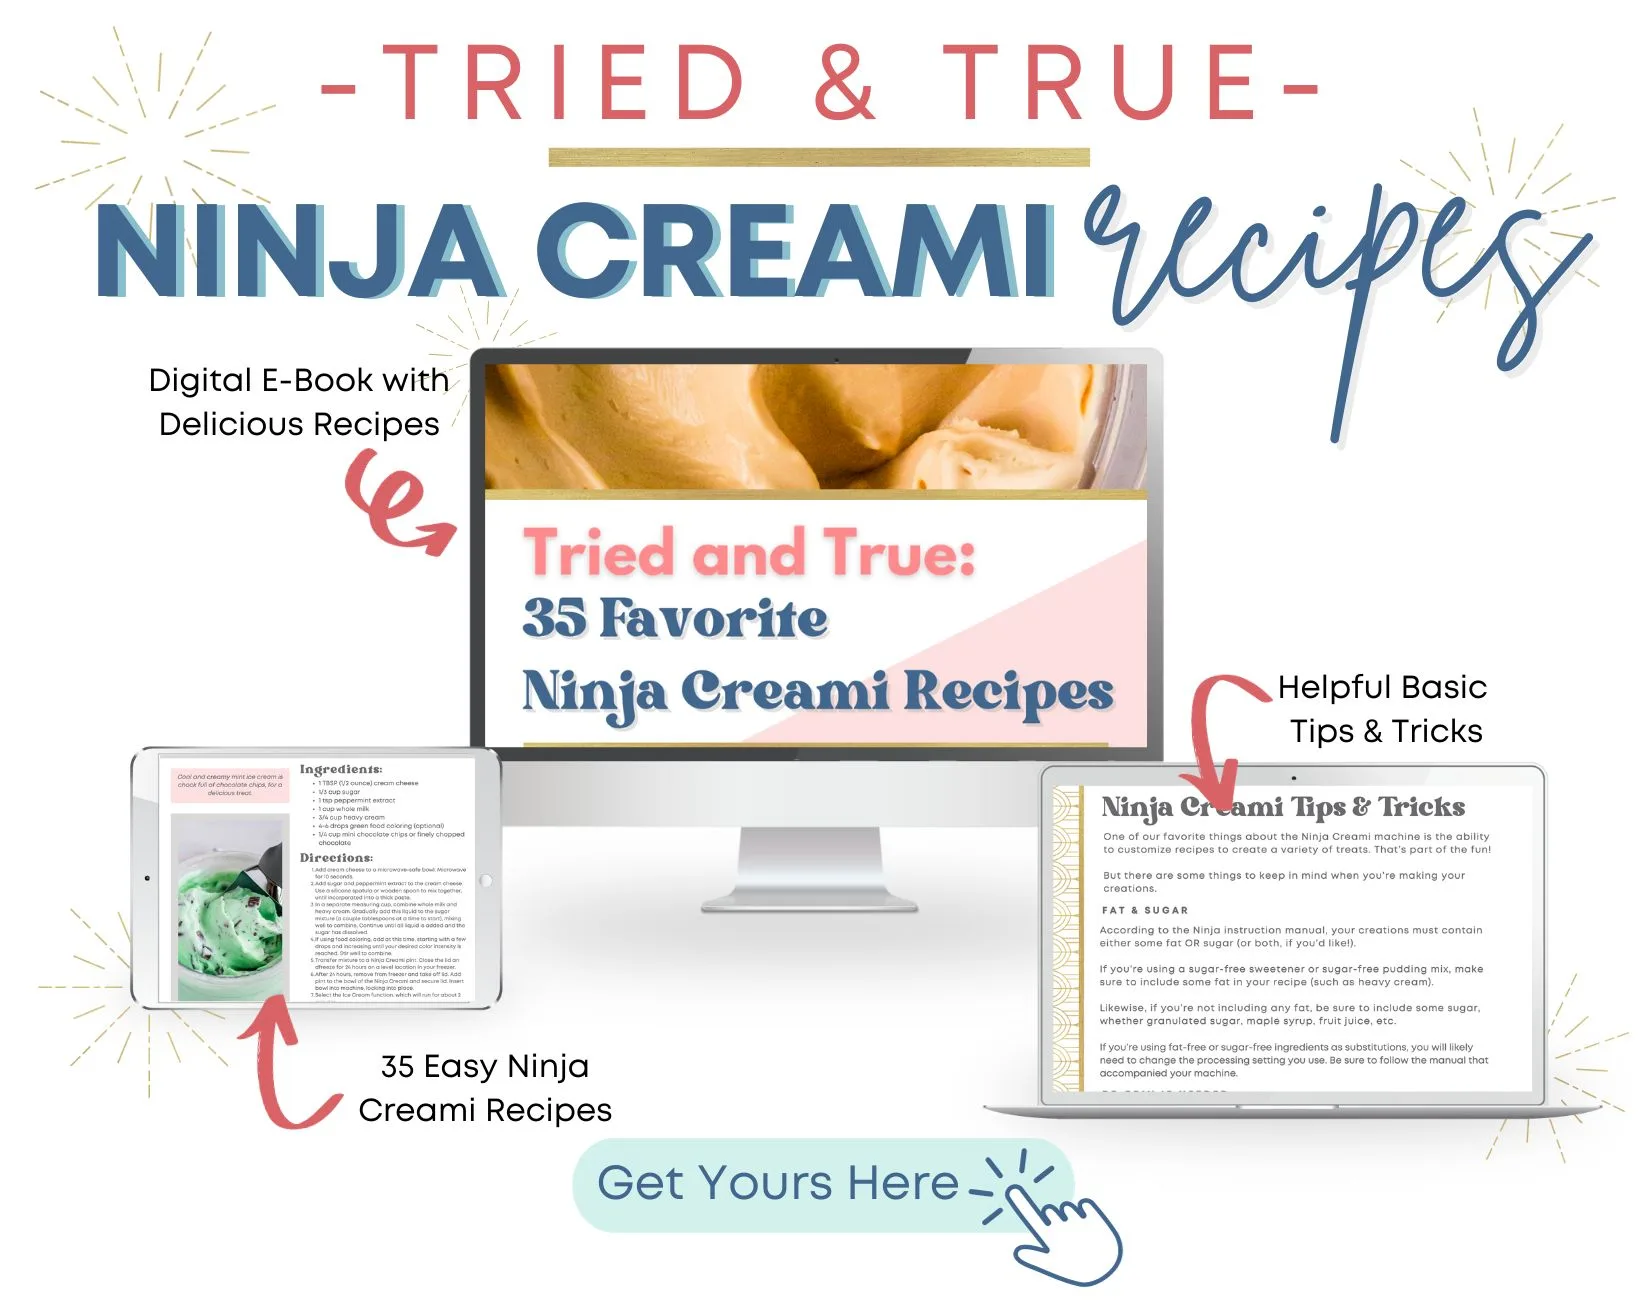
If you’d like some delicious printable Ninja Creami recipes, check out Tried and True: 35 Favorite Ninja Creami Recipes!
It contains some fantastic recipes, all in an easy-to-use printable format that you can download to your device.
Check it out here, or click the image below to learn more!

More Ninja Creami Recipes You’ll Love:
- Ninja Creami Cookies and Cream Ice Cream
- Ninja Creami Orange Sherbet
- Ninja Creami Butterbeer Ice Cream
- Ninja Creami Berry Lemonade Sorbet
- Ninja Creami Mango Sorbet
- Ninja Creami Cottage Cheese Ice Cream
- Ninja Creami Dairy Free Chocolate Ice Cream
- Ninja Creami Vanilla Pudding Ice Cream
- Ninja Creami Lemon Ice Cream
- Ninja Creami Chocolate Ice Cream from Pudding Mix
- Ninja Creami Violet Lemonade Sorbet
- Ninja Creami Butterscotch Ice Cream
Be sure to save this recipe to your Ninja Creami board on Pinterest!

