Making a higher protein milkshake in the Ninja Slushi machine is easy to do, with just a handful of simple ingredients.
Learn how to make a Ninja Slushi protein milkshake with your favorite protein shake! The flavor can be customized to your preference, too.


Note: This post may contain affiliate links for your convenience. You can read our full disclosure policy here.
When you’re trying to increase your protein intake, having a protein shake that you like can be a real game-changer.
But it’s easy to get tired of those shakes, and sometimes it can be helpful to find ways to “shake” things up a bit.
The Ninja Slushi makes it simple to transform your protein shake into a milkshake–with just a few ingredients!
There are a few things to keep in mind, though, when making a Ninja Slushi protein milkshake (it’s not as simple as just freezing the protein shake).
We’re sharing some tips and tricks to help you get started.


Making a Protein Milkshake in the Ninja Slushi Machine
One of the most important factors when creating your milkshake is considering how much sugar is in the shake.
The Ninja Slushi manual states that you need at least 8 grams of total sugar per 8-ounces of liquid. Many protein shakes don’t meet this requirement.
For instance, I used chocolate FairLife Core Protein shake, which only has 5 grams of sugar in the 14-ounce bottle.
To compensate, you have to add some more sugar, so the mixture will freeze properly.
Note: If you prefer to not add sugar, I recommend using my Ninja Creami protein ice cream recipe instead.
More Ninja Slushi Recipes to Try:
- Ninja Slushi Blue Raspberry Slush
- Apple Cider Slush in the Ninja Slushi
- Ninja Slushi Eggnog Milkshake
- Ninja Slushi Root Beer Slush
- Ninja Slushi Dole Whip Copycat Recipe
- Ninja Slushi Frosty Copycat Recipe
- Ninja Slushi Cherry Limeade Slush
- Ninja Slushi Fruit Punch Slush
- Ninja Slushi Pistachio Milkshake


How to Make a Ninja Slushi Protein Milkshake
It’s easy to whip up a cool and creamy treat!
Ingredients You’ll Need:
- FairLife Chocolate Protein Shake (or other shake of choice)
- Milk
- Cool Whip
- Sugar


How to Make it:
(Full printable recipe card is available below)
Mix the base. Combine all ingredients in a large liquid measuring cup. Whisk to incorporate and allow the sugar to dissolve.
Pour the mixture through the opening in the top of the Ninja Creami machine.


Freeze. Turn the machine on and then press the Milkshake button.
Allow the mixture to churn and freeze.
In my experience, milkshakes take longer to achieve the desired consistency than slushies do.
The mixture is also never quite as thick as a milkshake made with ice cream, so keep that in mind, but it’s still yummy!
Serve. Once the mixture is at milkshake consistency, pull the lever to dispense the shake into glasses.
Then serve and enjoy!


Notes and Adaptations:
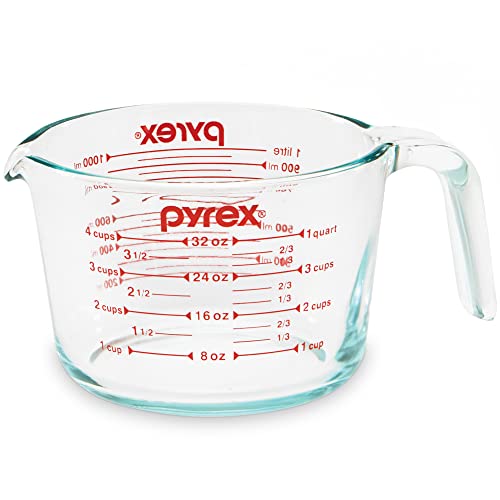
- I prefer to mix the ingredients in a liquid measuring cup with a spout, as that makes it easier to pour it into the machine.
- The length of time it takes for the mixture to freeze will depend on the temperature of the liquid. I prefer to use refrigerated liquids, as they freeze faster. However, in my experience, I’ve found that milkshakes take longer to freeze than slushies do, even with cold ingredients, so keep that in mind.
- When the machine beeps, if the mixture isn’t as thick as you’d like, you can press the up button to increase the freezing level of the mixture by a notch or two. It will then continue churning and freezing for a bit longer, making the mixture thicker. However, I’ve found that Ninja Slushi milkshakes are never quite as thick as a milkshake made with ice cream.
- The Ninja Slushi recommends a minimum of 16-ounces of liquid in the machine, which is why we’re adding some milk to the 14-oz protein shake. If you have a larger volume of protein shake, you can omit the milk.
- The Cool Whip is technically optional, but it adds some sugar to the mixture and I think it also improves the texture a bit.


Recommended Equipment:
- Ninja Slushi Machine – Price and availability often varies, so I recommend checking the price here on Amazon and here at Walmart.
- Pyrex 4-Cup Measuring Cup – For easy mixing and pouring.
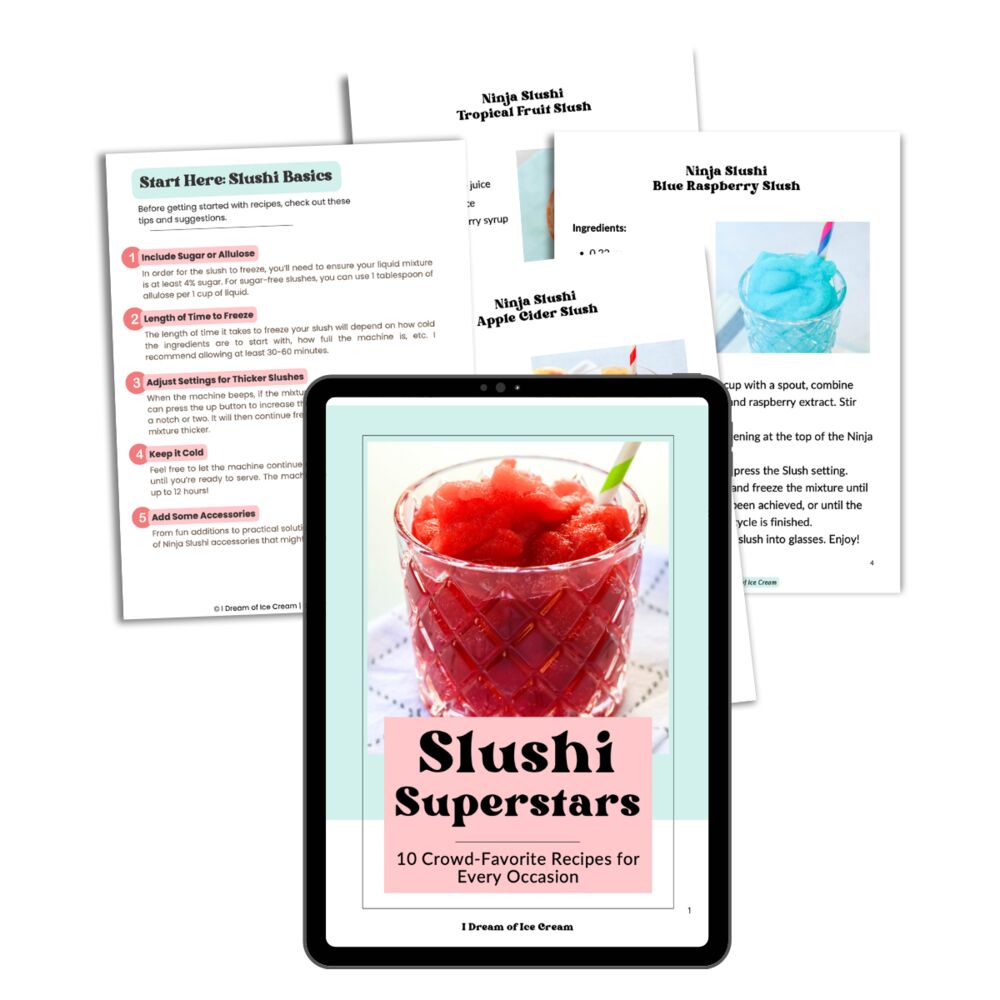
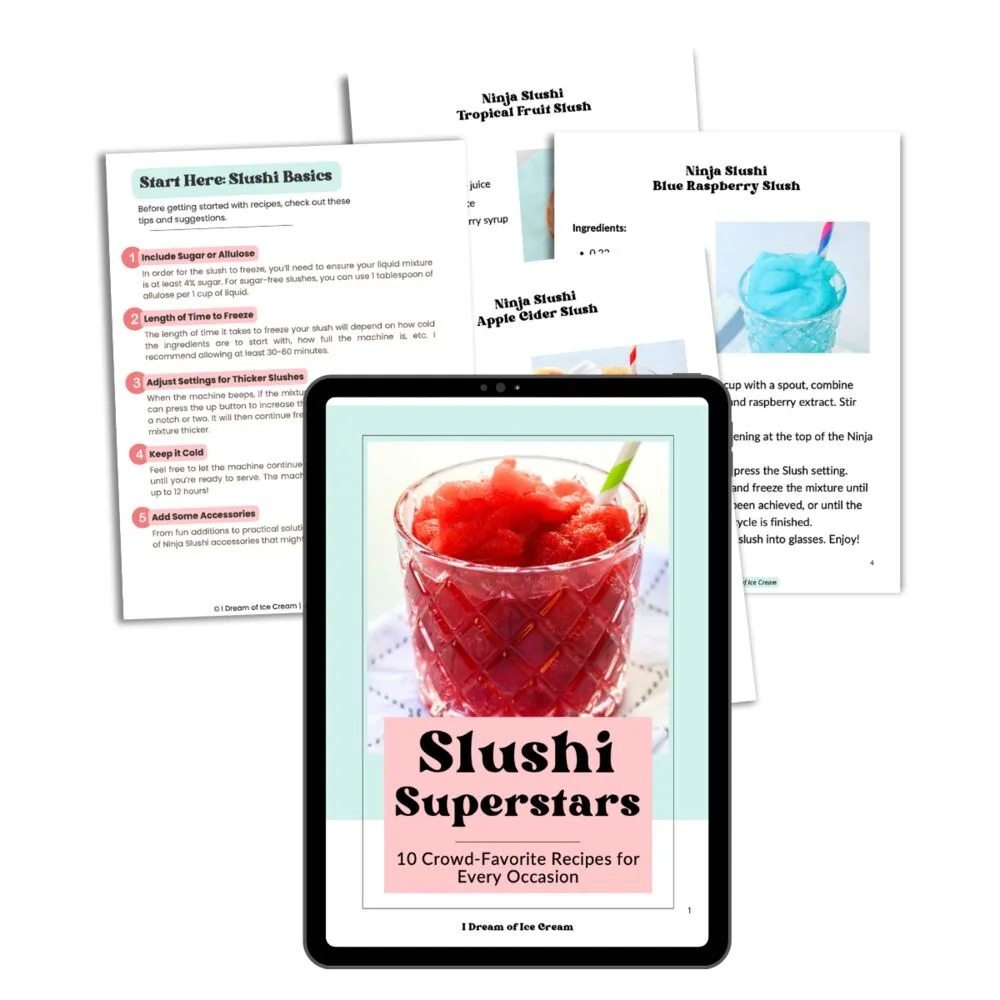
- Slushi Superstars – Our printable collection of recipes.
Ninja Slushi Protein Milkshake


Transform your favorite protein shake into a protein milkshake, thanks to the Ninja Slushi machine.
Ingredients
- 14-oz Chocolate FairLife Core Protein Shake
- 1/4 cup milk
- 1/2 cup Cool Whip
- 1/4 cup granulated sugar
Instructions
- Combine all ingredients in a large liquid measuring cup. Whisk until incorporated and sugar has dissolved.
- Pour mixture through the opening in the top of the Ninja Slushi machine, then power the machine on. Press the Milkshake button.
- Allow the machine to churn and freeze the liquid. This does take some time (mine took about an hour, even with my ingredients being refrigerated to begin with).
- When the desired consistency has been achieved or the machine has beeped to signal its completion, pull the lever to dispense the milkshake into glasses. Serve and enjoy!
Notes
- I prefer to mix the ingredients in a liquid measuring cup with a spout, as that makes it easier to pour it into the machine.
- The length of time it takes for the mixture to freeze will depend on the temperature of the liquid. I prefer to use refrigerated liquids, as they freeze faster. However, in my experience, I've found that milkshakes take longer to freeze than slushies do, even with cold ingredients.
- When the machine beeps, if the mixture isn't as thick as you'd like, you can press the up button to increase the freezing level of the mixture by a notch or two. It will then continue churning and freezing for a bit longer, making the mixture thicker. However, I've found that the texture is never quite as thick as a milkshake made with ice cream, so keep that in mind.
- The Ninja Slushi recommends a minimum of 16-ounces of liquid in the machine, which is why we're adding some milk to the 14-oz protein shake. If you have a larger volume of protein shake, you can omit the milk.
- Sugar is included in the recipe due to the fact that the Ninja Slushi requires at least 8 grams of sugar per 8 ounces of liquid.
- The Cool Whip is technically optional, but it adds some sugar to the mixture and I think it also improves the texture a bit so it's not as icy.
Recommended Products
As an Amazon Associate and member of other affiliate programs, I earn from qualifying purchases.

Nutrition Information:
Yield:
3Serving Size:
1Amount Per Serving: Calories: 879Total Fat: 46gSaturated Fat: 28gTrans Fat: 0gUnsaturated Fat: 14gCholesterol: 36mgSodium: 188mgCarbohydrates: 100gFiber: 5gSugar: 89gProtein: 17g
Nutrition information is automatically calculated and is not guaranteed for accuracy.


If you have a Ninja Creami machine, check out our list of the best higher protein Ninja Creami recipes!
Be sure to save this recipe to your Ninja Slushi board on Pinterest!

