Making a peanut butter milkshake in the Ninja Creami machine is super easy, and you can dress it up with your favorite toppings.
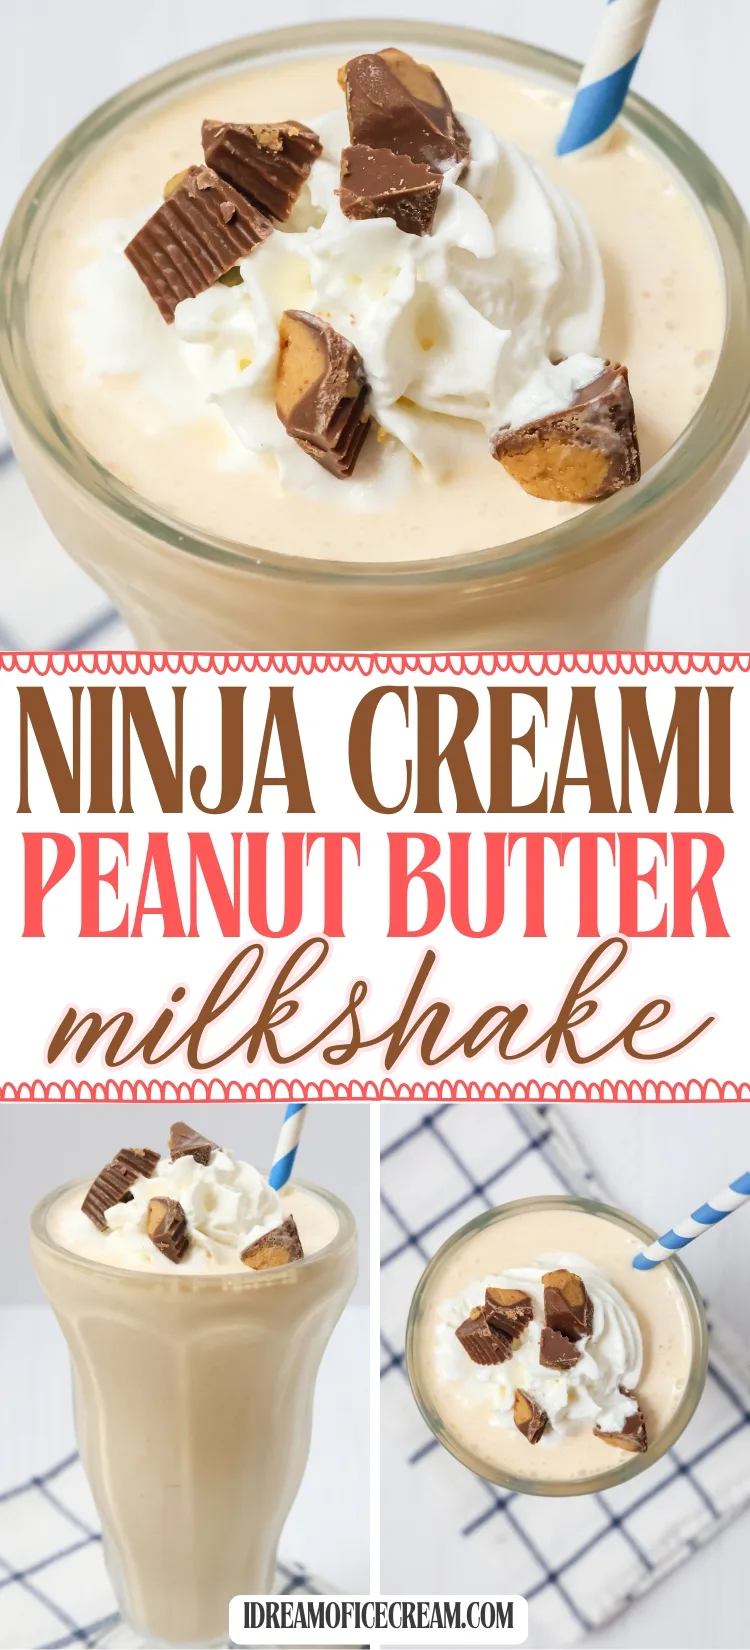
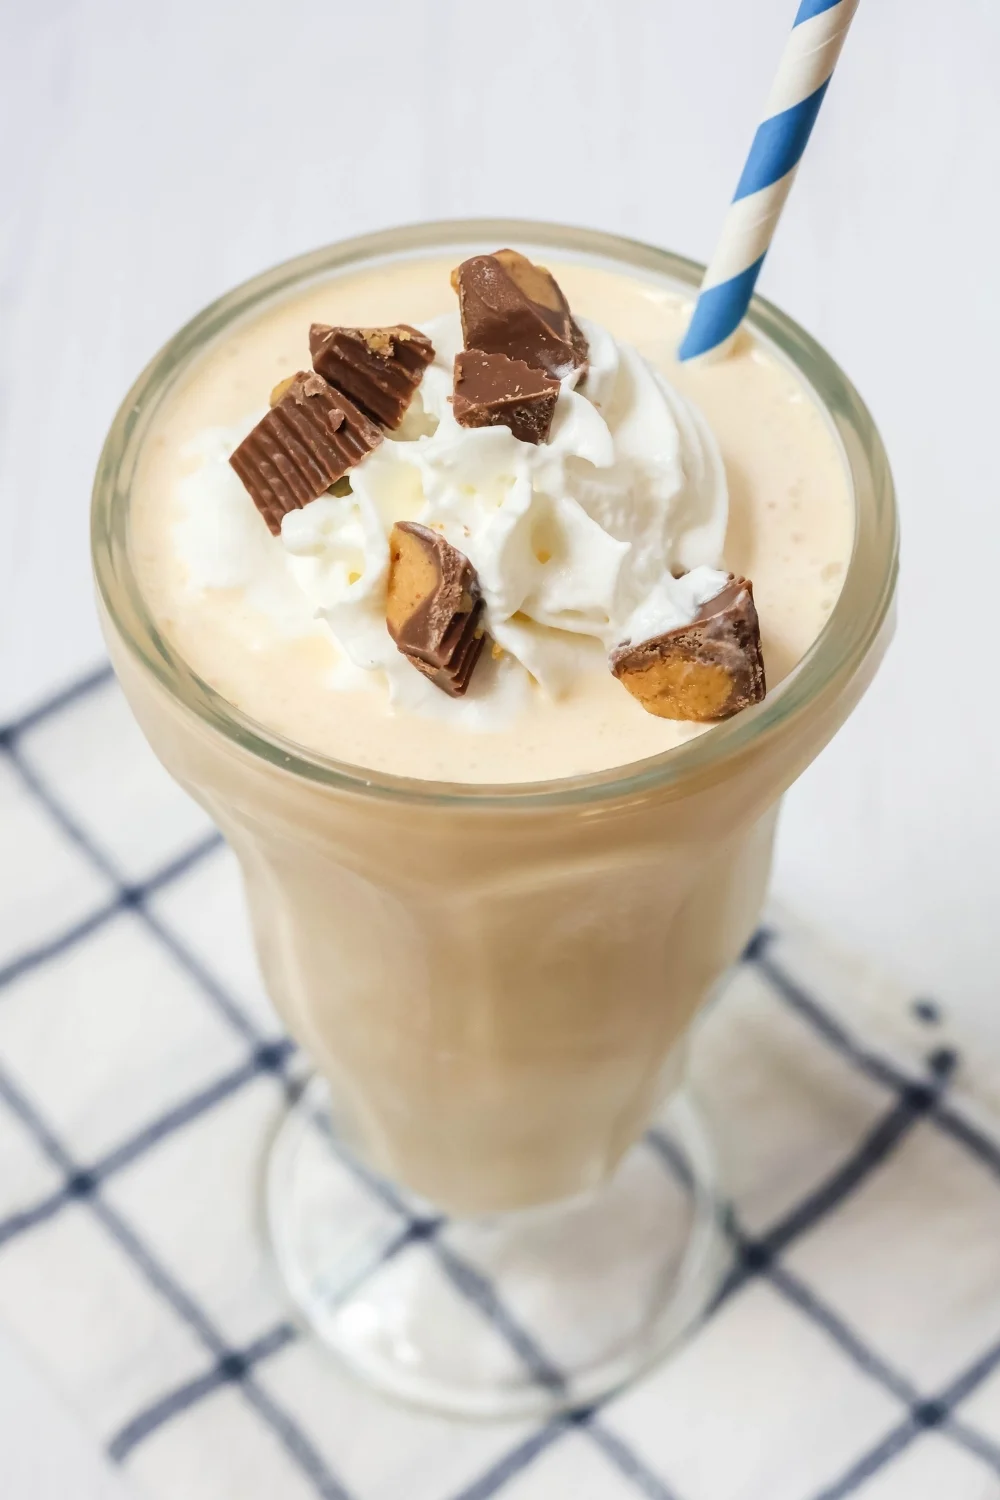
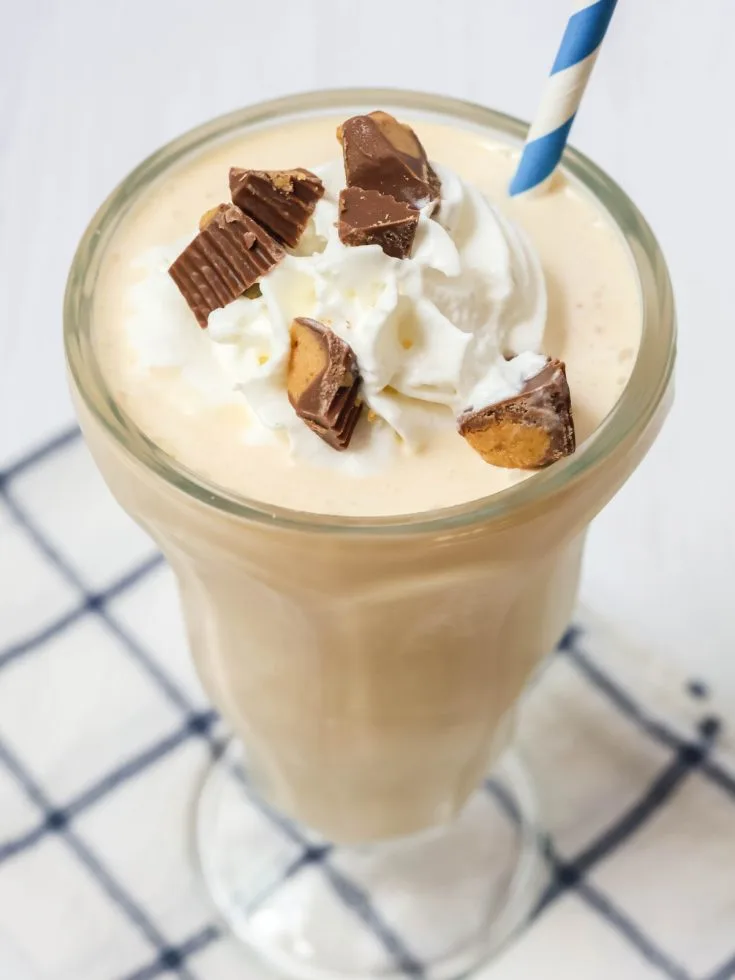
Thick, creamy, and oh-so-good, this Ninja Creami peanut butter milkshake is sure to become one of your favorite ways to use your Creami!

Note: This post may contain affiliate links for your convenience. You can read our full disclosure policy here.
It’s no secret that the Ninja Creami machine is an incredibly versatile appliance for making frozen treats.
The possibilities are endless! You can make sorbet, ice cream, gelato, frozen yogurt, and more.
For a long time, those were the only types of desserts I made in my Creami. That is, until I started experimenting with the milkshake setting!
We love Ninja Creami milkshakes in our house, and I love how easy it is to whip them up, whenever the craving strikes.
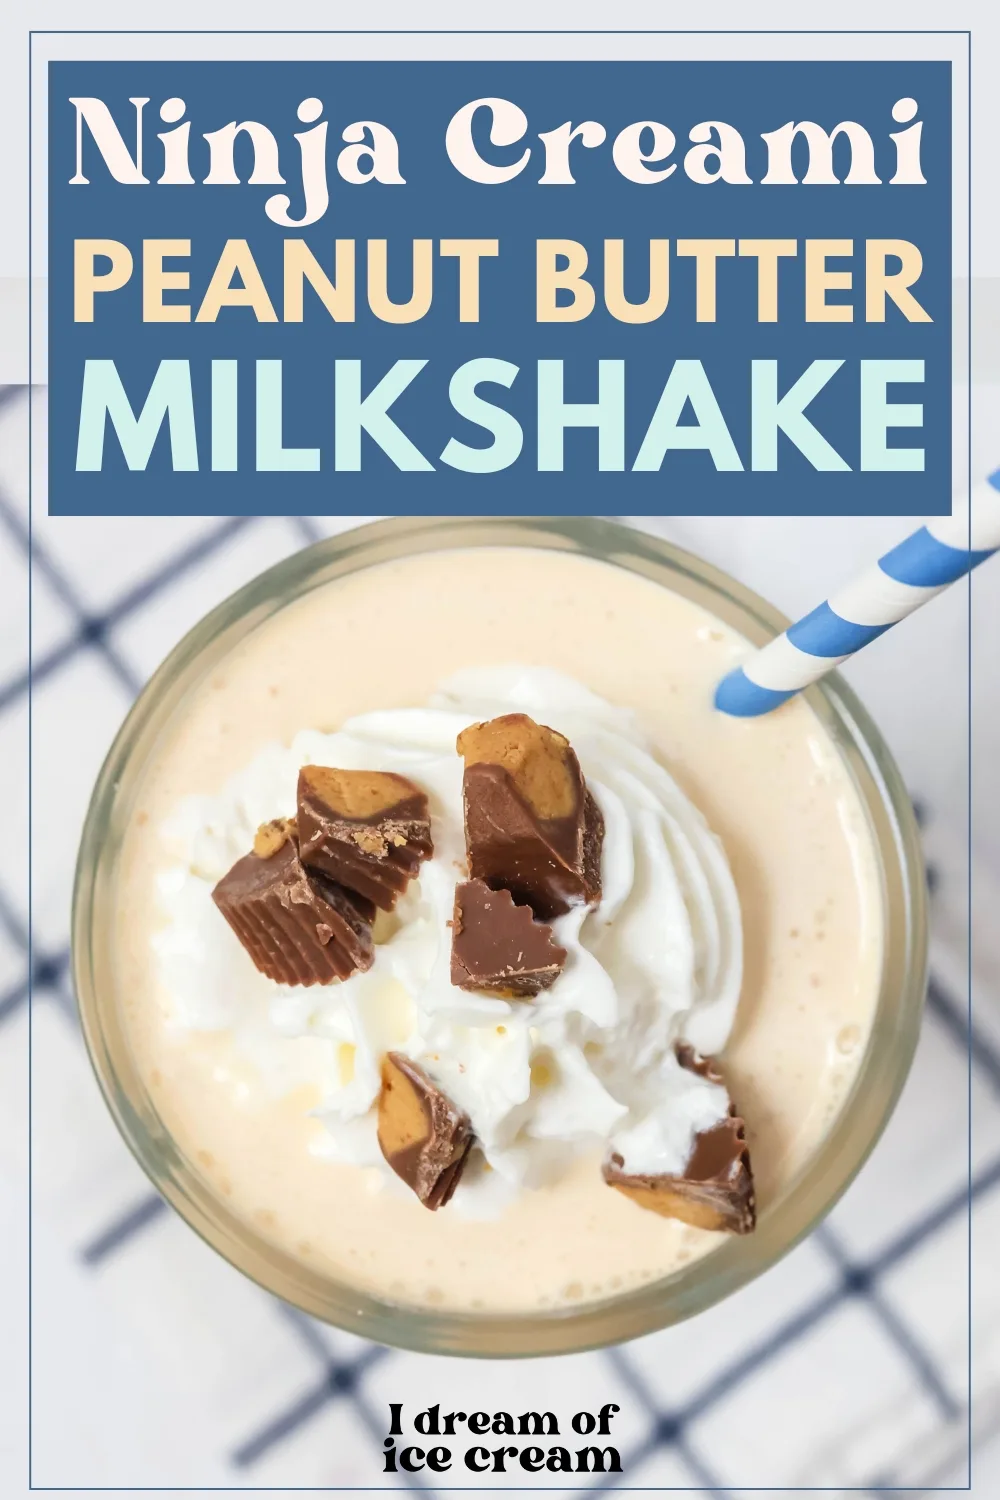
Our latest concoction was this Ninja Creami peanut butter milkshake, which combines the rich, nutty flavor with a cool and creamy texture–basically perfection!

Ninja Creami Milkshake with Peanut Butter
One of the best things about the milkshake function of the Ninja Creami is that it uses ice cream that’s already been prepared, so you don’t have to wait for a base to freeze.
I used vanilla ice cream in this shake, but you could also use some Ninja Creami peanut butter ice cream, if you have it on hand.
Of course, you could also use store-bought ice cream, too.
You’ll mix up the ice cream with just a couple of ingredients, then use the Milkshake function to blend it up.
We love to serve this milkshake topped with whipped cream and chopped Reese’s peanut butter cups, but I think chopped Butterfinger bits or salted peanuts would be delicious, too!
More Ninja Creami Milkshakes to Try:
- Ninja Creami Chocolate Milkshake
- Ninja Creami Banana Milkshake
- Ninja Creami Pistachio Milkshake
- Ninja Creami Strawberry Milkshake
- Ninja Creami Nutella Milkshake
- Ninja Creami Cookies and Cream Milkshake
- Ninja Creami Pumpkin Spice Milkshake
- Ninja Creami Eggnog Milkshake
- Ninja Creami Vanilla Milkshake

How to Make a Peanut Butter Milkshake in the Ninja Creami
It’s easier than you think to make this simple yet delicious shake.
Ingredients You’ll Need:
- Vanilla ice cream
- Creamy peanut butter
- Milk
- Whipped cream and toppings, for serving (optional)

How to Make it:
(Full printable recipe card is available below)
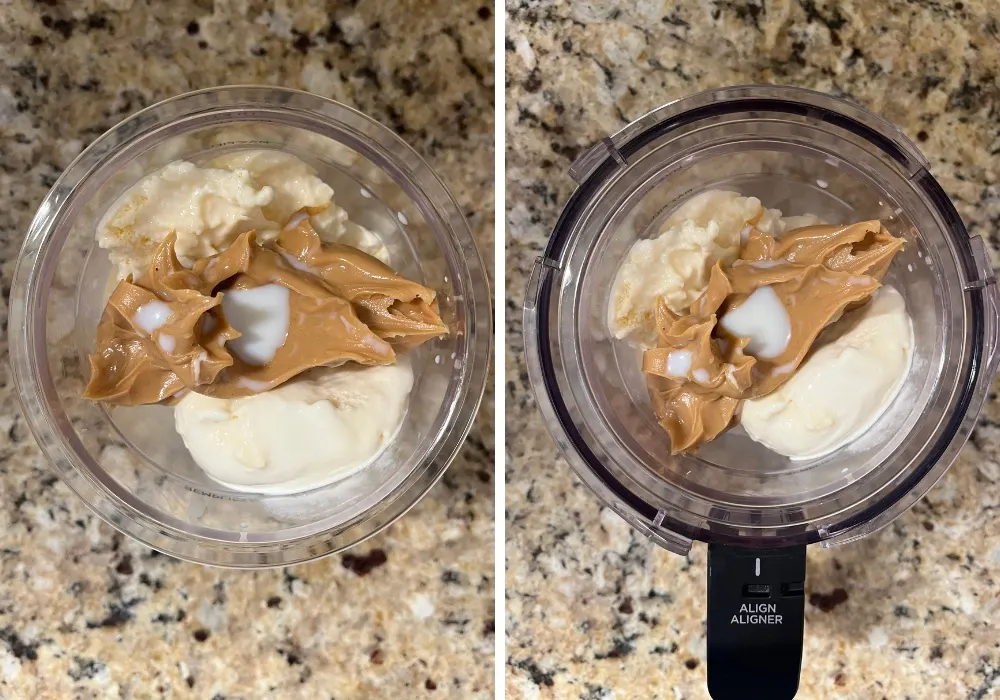
Combine ingredients. In a Ninja Creami pint container, combine the ice cream, peanut butter, and milk.
Place the pint container into the outer bowl of the Ninja Creami machine, then secure the outer bowl lid.

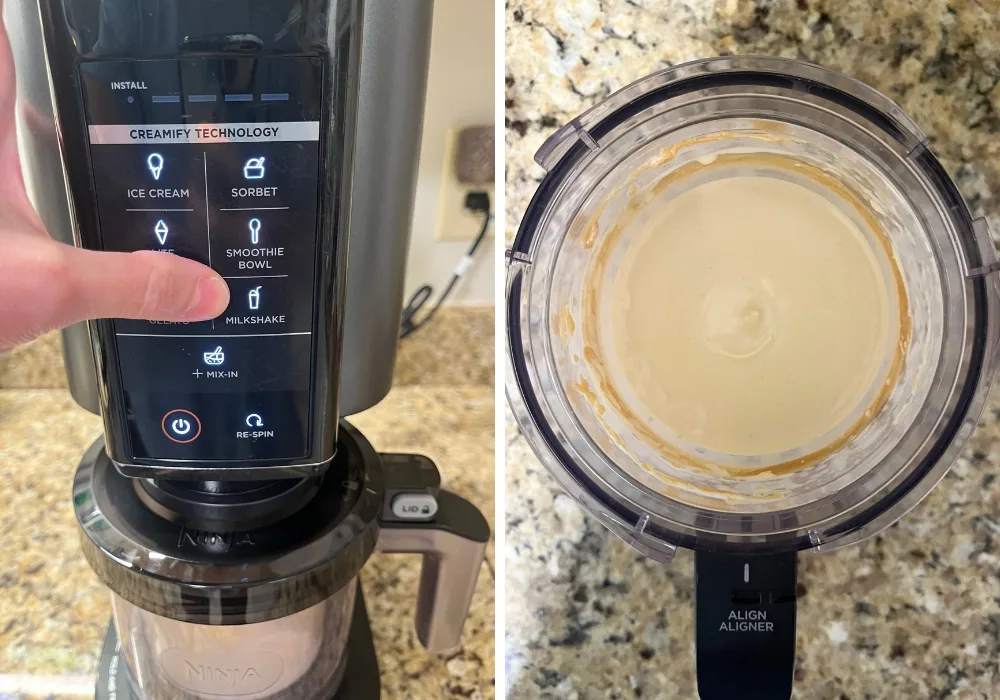
Spin. Place the outer bowl apparatus into the Ninja Creami machine, locking it into place. Press the Milkshake button and allow the cycle to complete.

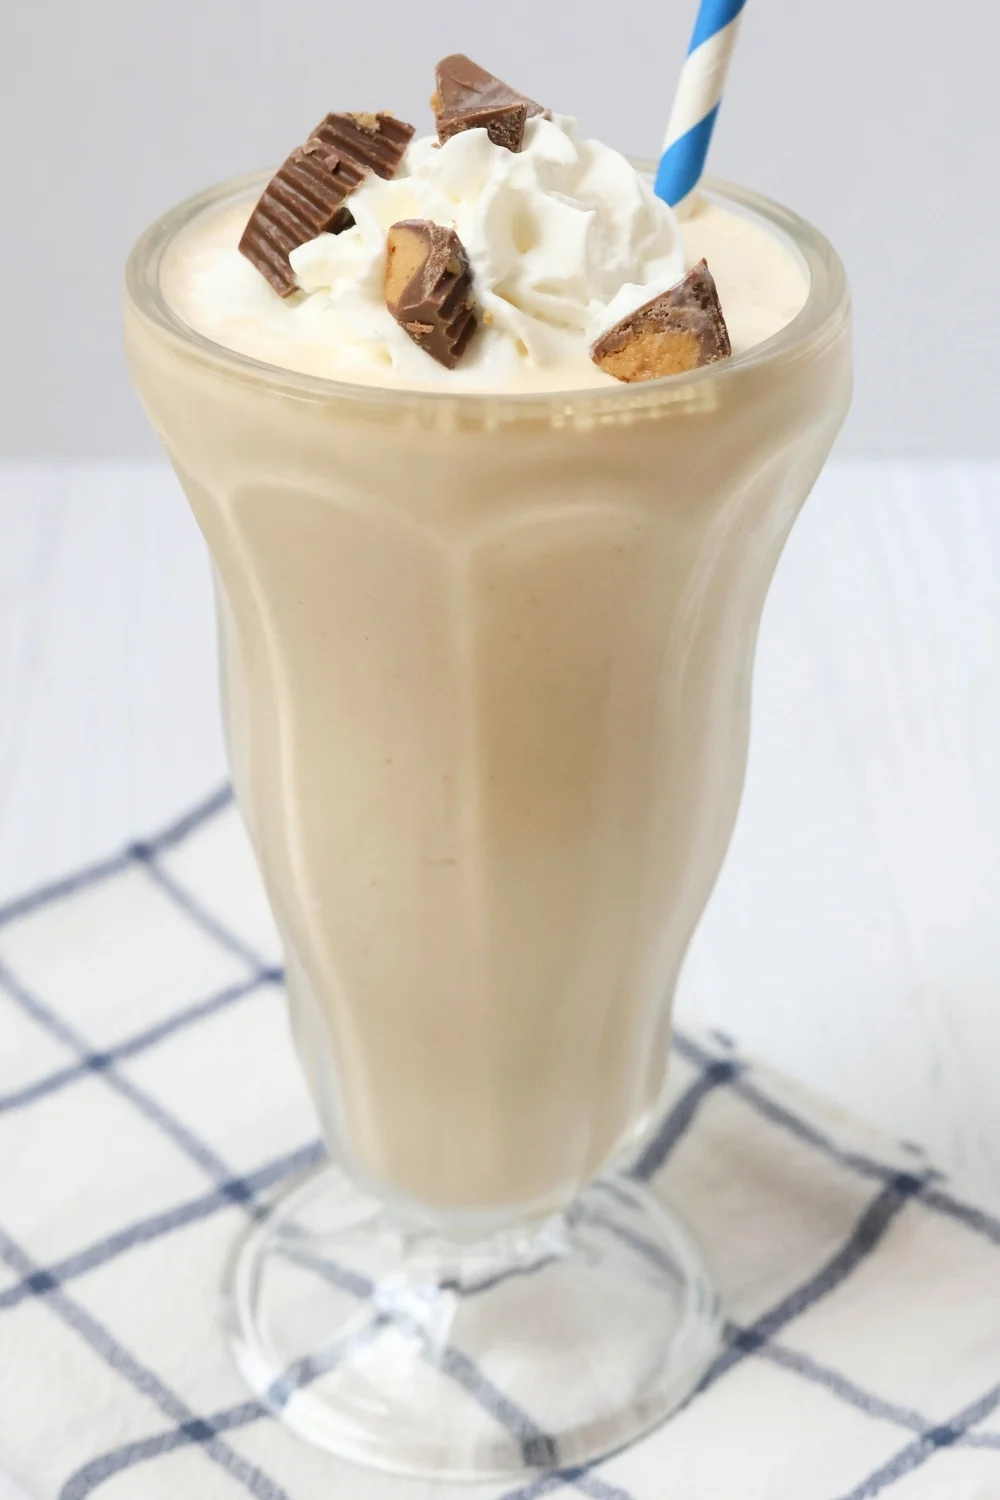
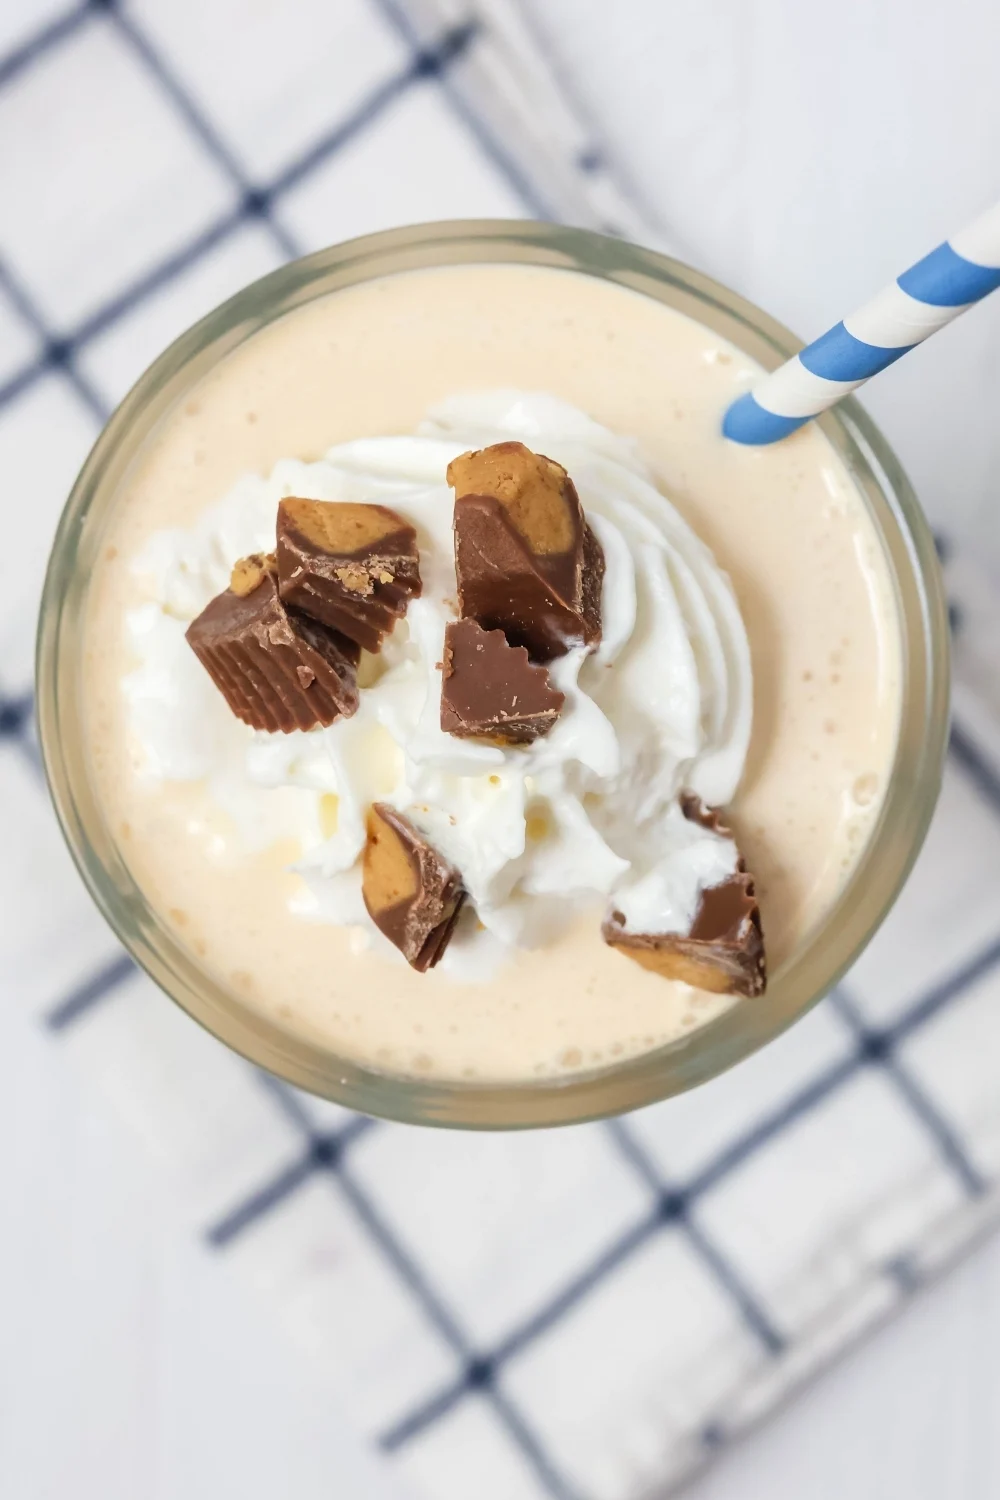
Serve. Remove the pint from the machine. If desired, pour the milkshake into a glass, then top with whipped cream and chopped Reese’s cups (or other toppings of choice).
Enjoy!

Notes and Adaptations:
- I used vanilla ice cream, but you can also use peanut butter ice cream or chocolate ice cream.
- Feel free to change up the toppings! Chopped nuts or other candies would be tasty.
- To make this dairy-free, ensure you’re using dairy-free ice cream and a non-dairy milk. Don’t forget to make sure your toppings (if using) are dairy-free, too!
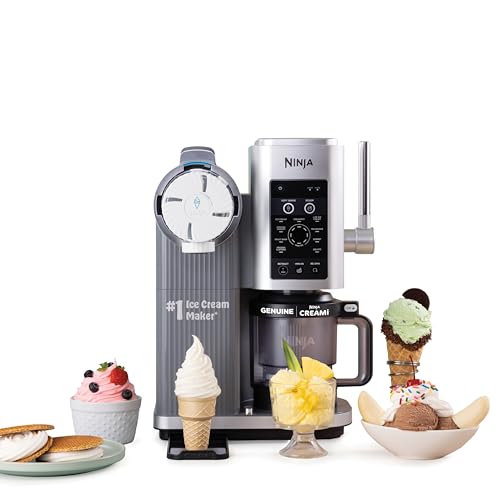
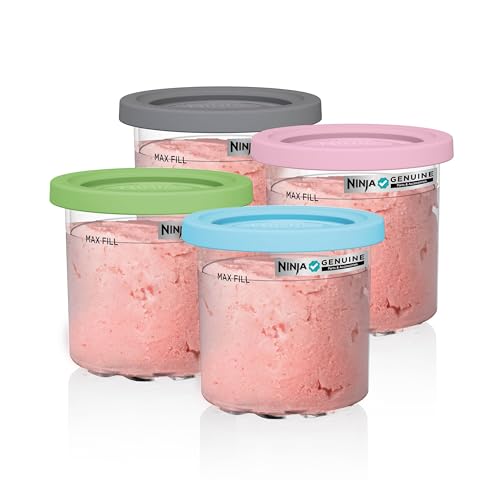
Recommended Equipment:
Ninja Creami Peanut Butter Milkshake

This rich and creamy peanut butter milkshake is a delicious Ninja Creami treat you can customize with your favorite toppings.
Ingredients
- 1 3/4 cups vanilla ice cream
- 3 Tablespoons creamy peanut butter
- 2 Tablespoons milk
- Optional Toppings: Whipped cream, chopped Reese's peanut butter cups, chopped peanuts, Butterfinger bits, or other toppings, as desired.
Instructions
- Combine vanilla ice cream, peanut butter, and milk in a Ninja Creami pint container.
- Place the pint container into the outer bowl of the Ninja Creami machine, securing the lid. Transfer the outer bowl to the machine, locking it into place.
- Press the Milkshake button and allow the cycle to complete.
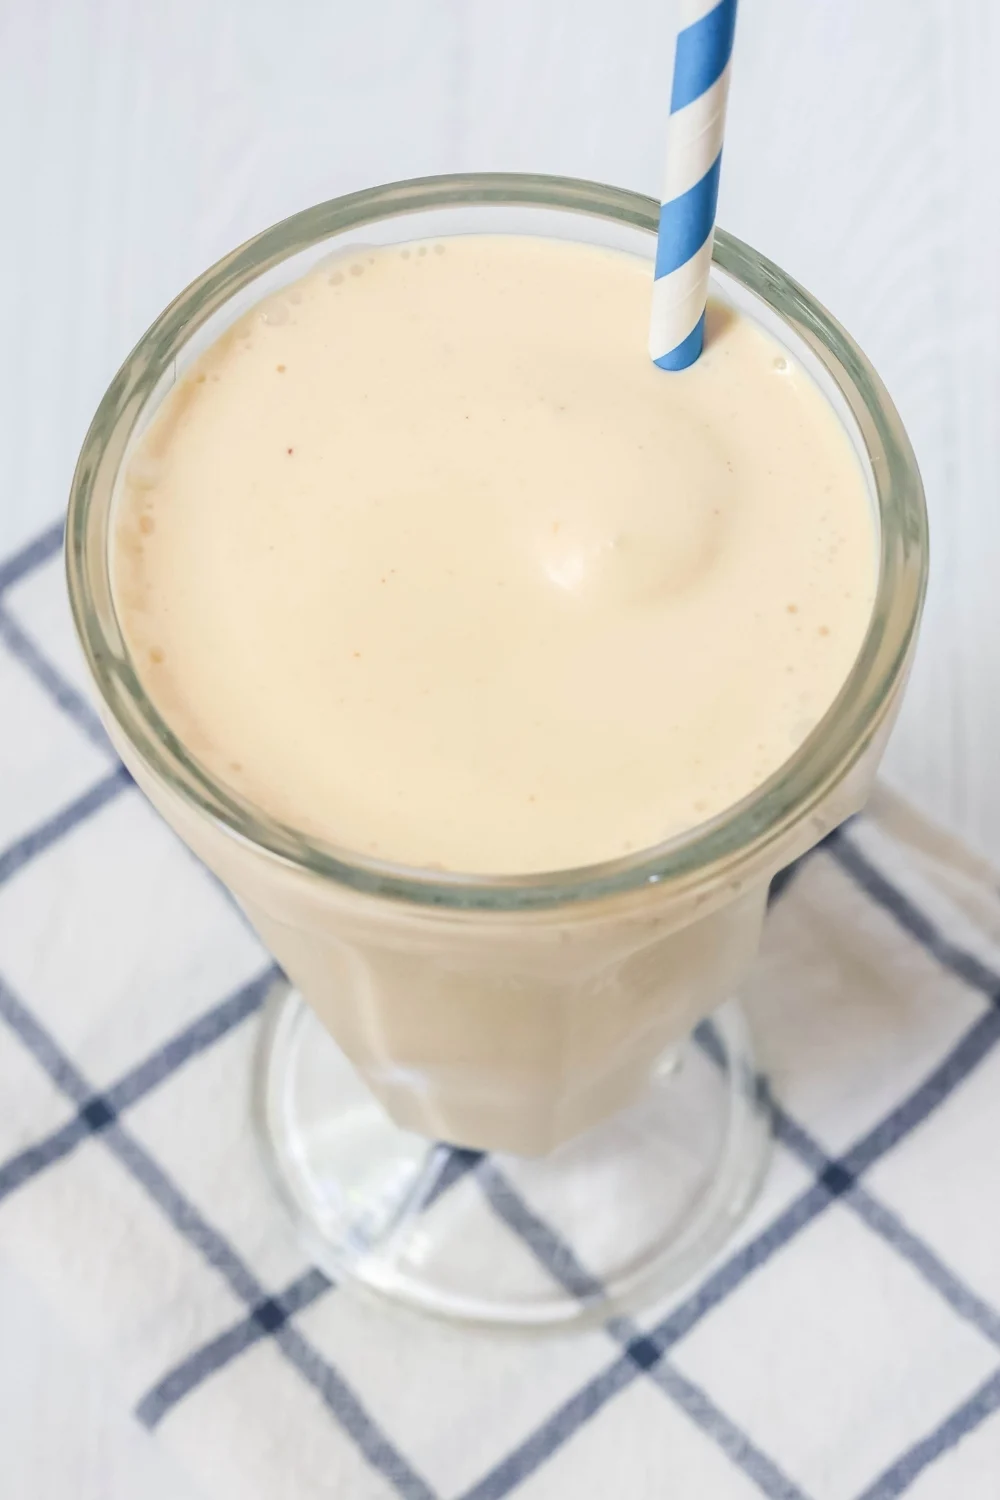
- Remove pint container from machine. Scoop milkshake out into a glass, then add toppings as desired.
Notes
- I used vanilla ice cream, but you could also use peanut butter ice cream or chocolate ice cream, if preferred.
- To make this dairy-free, opt for a dairy-free ice cream and non-dairy milk. Make sure your toppings are dairy-free as well.
- For a thinner milkshake, you can add an extra tablespoon or two of milk.
Recommended Products
As an Amazon Associate and member of other affiliate programs, I earn from qualifying purchases.

Nutrition Information:
Yield:
2Serving Size:
1Amount Per Serving: Calories: 581Total Fat: 34gSaturated Fat: 15gTrans Fat: 0gUnsaturated Fat: 16gCholesterol: 55mgSodium: 316mgCarbohydrates: 61gFiber: 3gSugar: 45gProtein: 13g
Nutrition information is automatically calculated and is not guaranteed for accuracy.
Don’t forget to save this recipe to your Ninja Creami board on Pinterest!