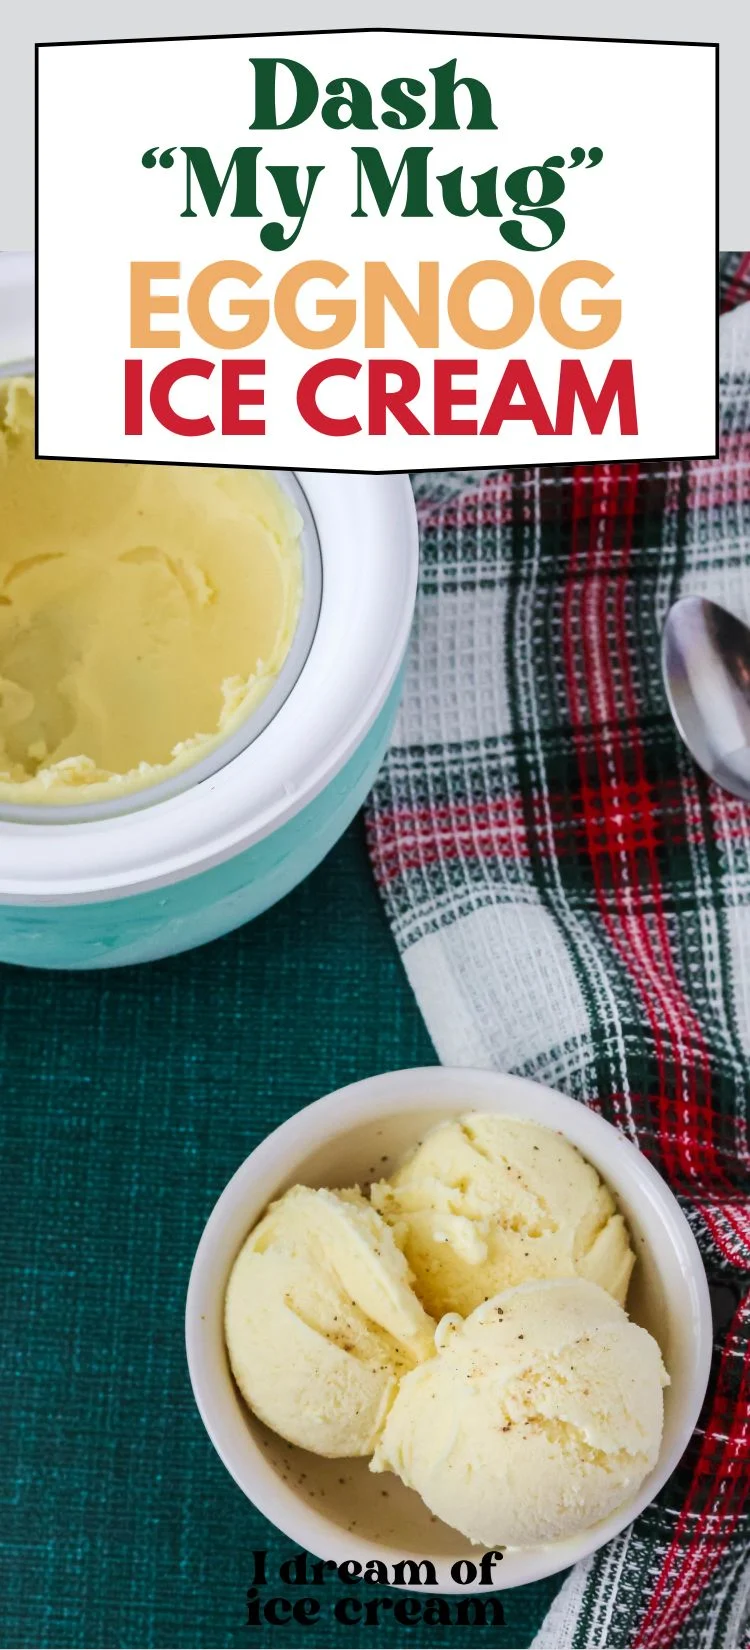
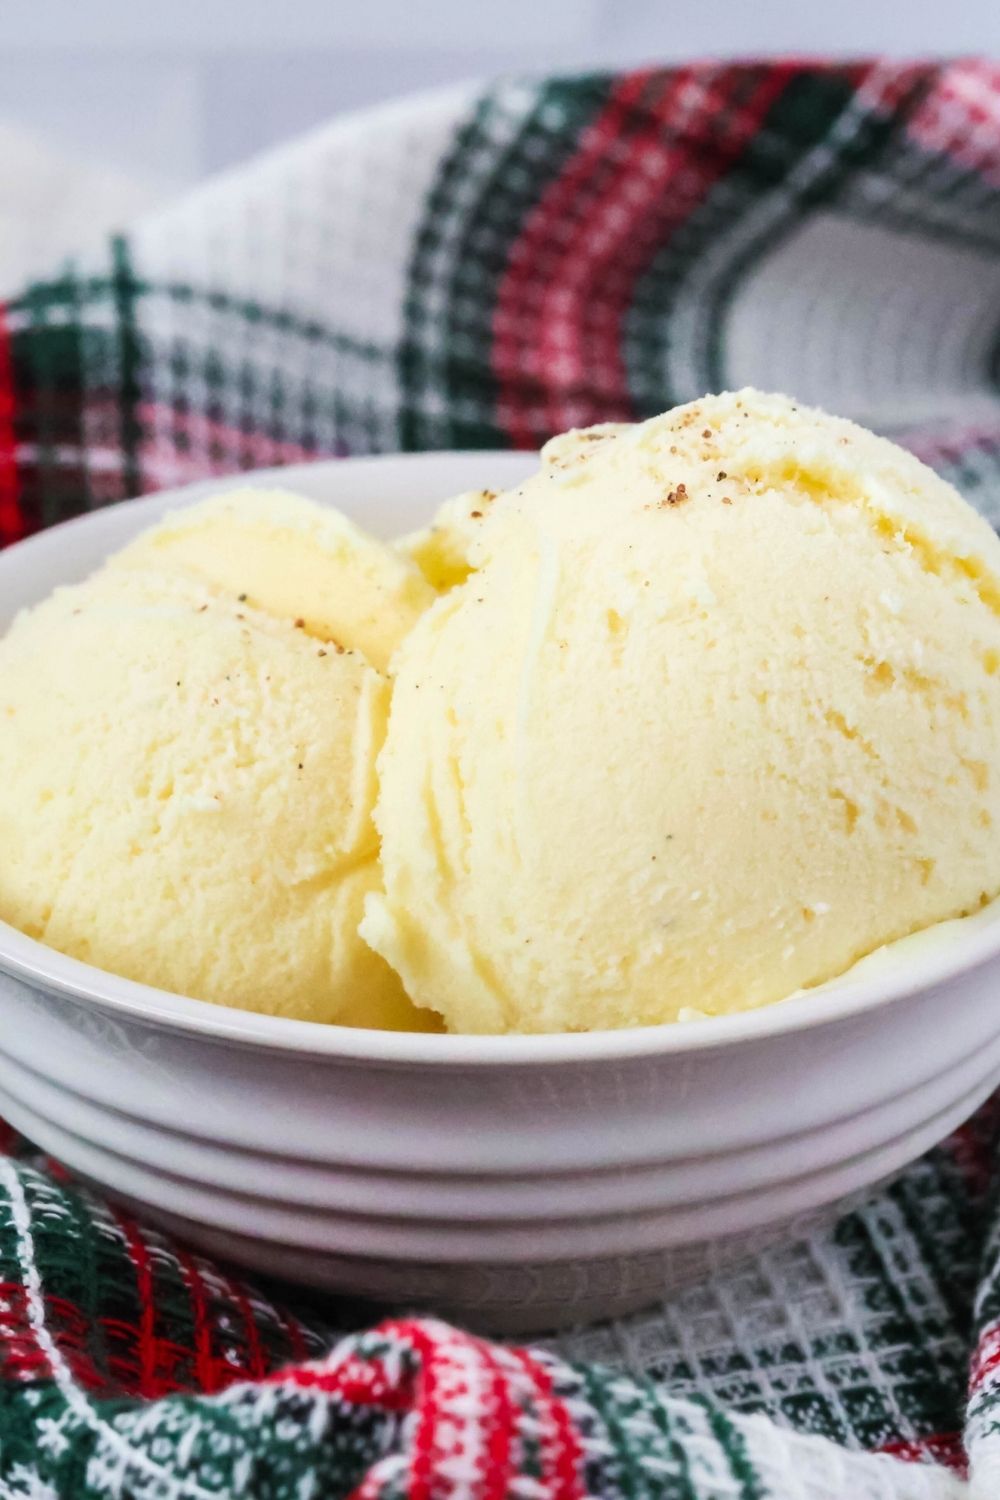
If you love eggnog, you have to try it in ice cream form! It’s an easy, cool and creamy holiday treat.
Making Dash My Mug eggnog ice cream is an easy way to whip up a small batch of a frosty dessert that pairs perfectly with Christmas cookies!

Note: This post may contain affiliate links for your convenience. You can read our full disclosure policy here.
Ever since I was a kid, I’ve loved enjoying eggnog around the holidays. It was one of those treats my grandpa and I always savored together on Christmas Eve, which makes it a nostalgic tradition for me.
In recent years, I’ve discovered the wonder that is eggnog ice cream! It takes all of the creamy, sweet, nutmeg flavor of the classic beverage and transforms it into a delicious dessert.
But when you don’t want to make a big batch of ice cream, or have a last-minute hankering for a sweet treat, this Dash My Mug eggnog ice cream is exactly what you need.
It’s super simple, yet feels indulgent, and doesn’t take a lot of time to make. Perfect for the holidays!

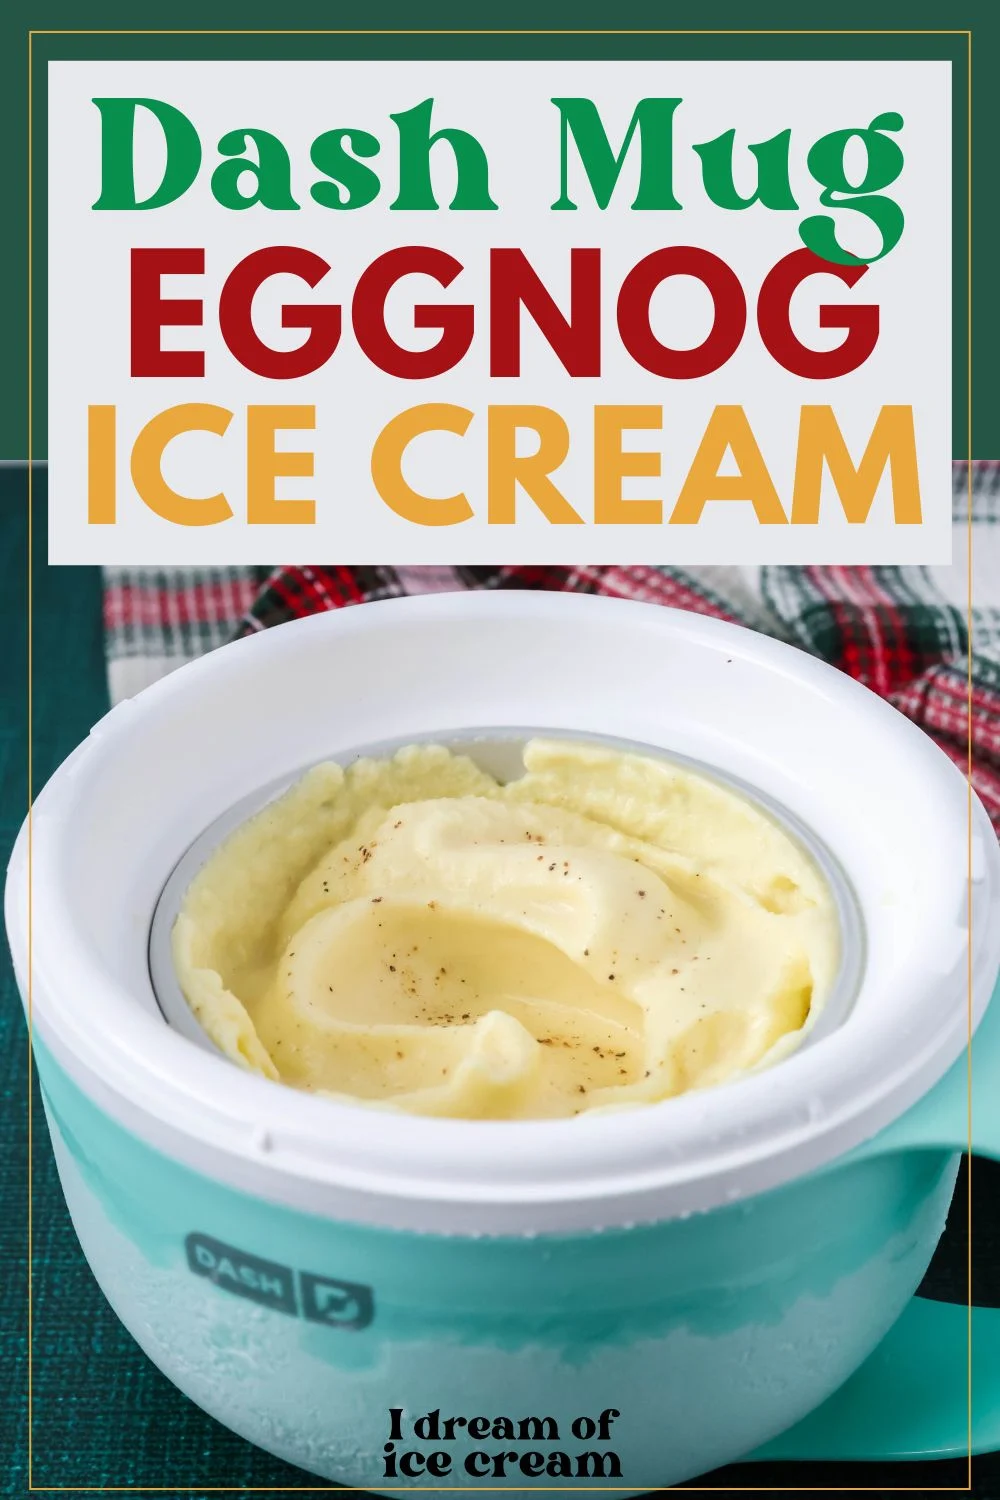
Eggnog Ice Cream in the Dash Mug
If you aren’t familiar with the Dash My Mug ice cream maker, it’s essentially a miniature version of a traditional ice cream machine.
You have a bowl that has to be frozen for at least 24 hours (just keep them in the freezer so they’re ready whenever you need one!), along with a motor that spins a dasher paddle within the bowl.
The spinning paddle churns your ice cream base against the frozen bowl, which aerates and freezes the liquid base into ice cream.
It’s an inexpensive machine that makes it super easy to whip up small batches of ice cream that are perfect for one or two people!
For this recipe, all you really need is good-quality eggnog, but I like to add a little bit of vanilla extract, nutmeg, and a splash of milk as well.
More Dash Mug Recipes:
- Dash My Mug Chocolate Ice Cream
- Dash My Mug Strawberry Ice Cream
- Dash My Mug Raspberry Chocolate Chip Ice Cream
- Dash My Mug Key Lime Pie Ice Cream
- Dash My Mug Strawberry Sorbet
- Dash My Mug Cookies and Cream Ice Cream
- Dash My Mug Pumpkin Ice Cream
- Dash My Mug Peppermint Bark Ice Cream

How to Make Dash My Mug Eggnog Ice Cream
It’s really easy to whip up this holiday favorite.
Ingredients You’ll Need:
- Eggnog
- Ground nutmeg
- Vanilla extract
- Milk

How to Make It:
(Full printable recipe card is available below)
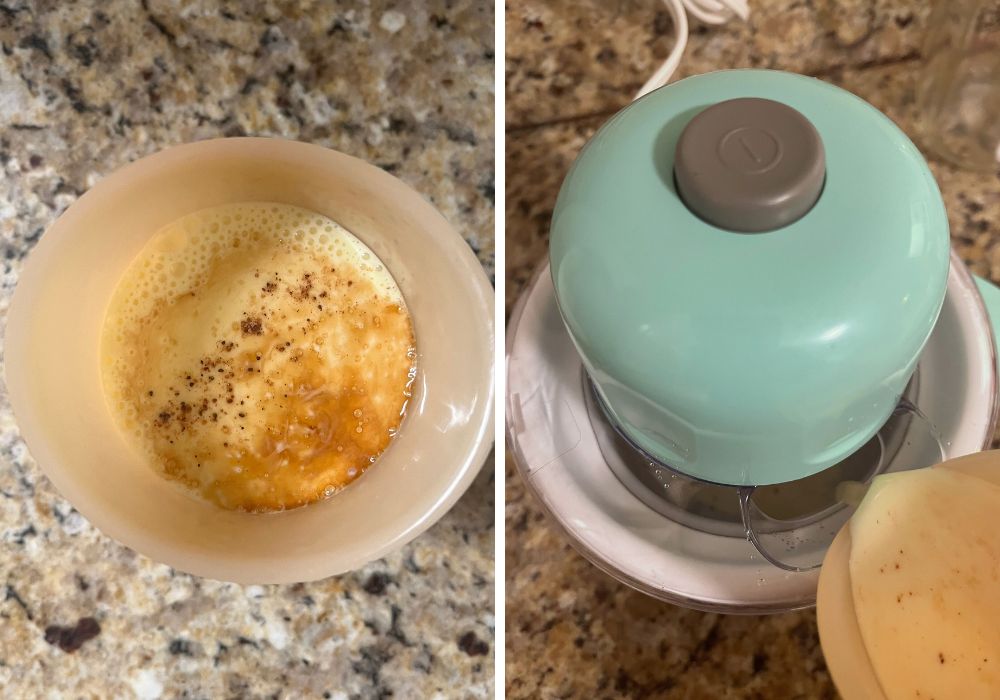
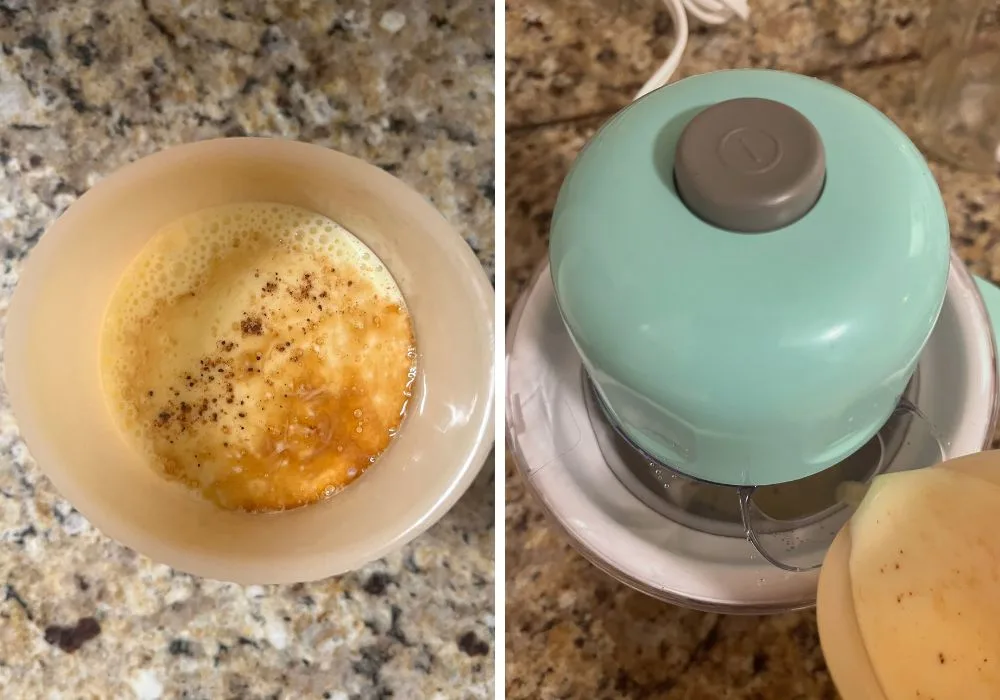
Prep the base. First, you’ll combine the eggnog, nutmeg, vanilla extract, and milk in a measuring cup.
Remove the mug from the freezer and affix the lid and paddle to the mug. Power it on.
While the dasher is spinning, pour your base mixture through the pour hole into the bowl.
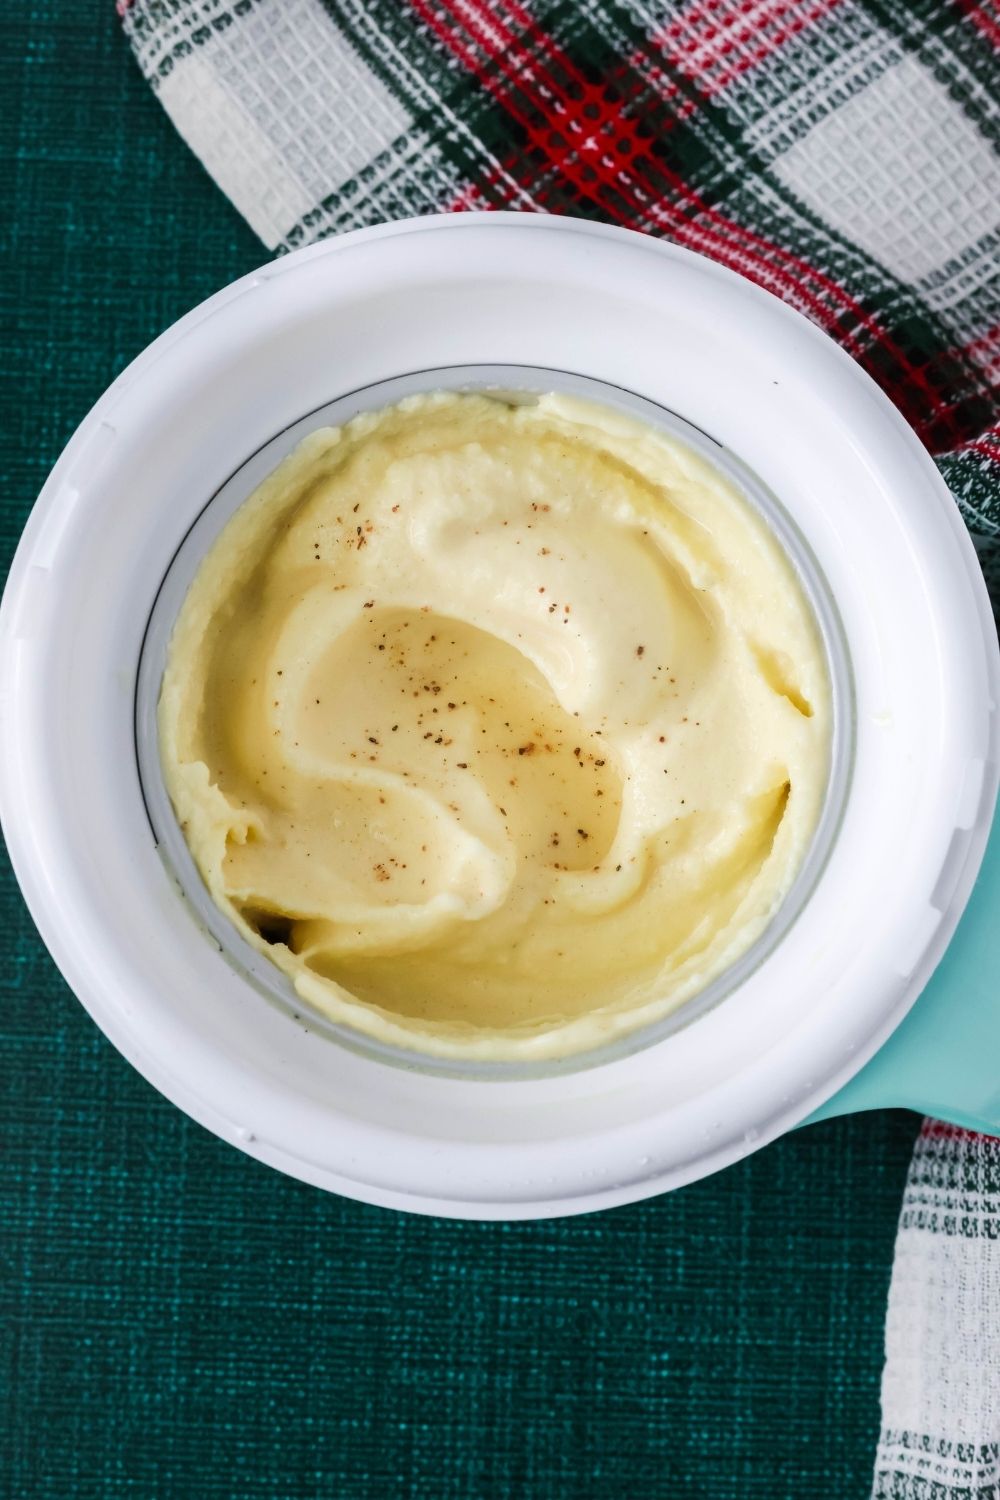
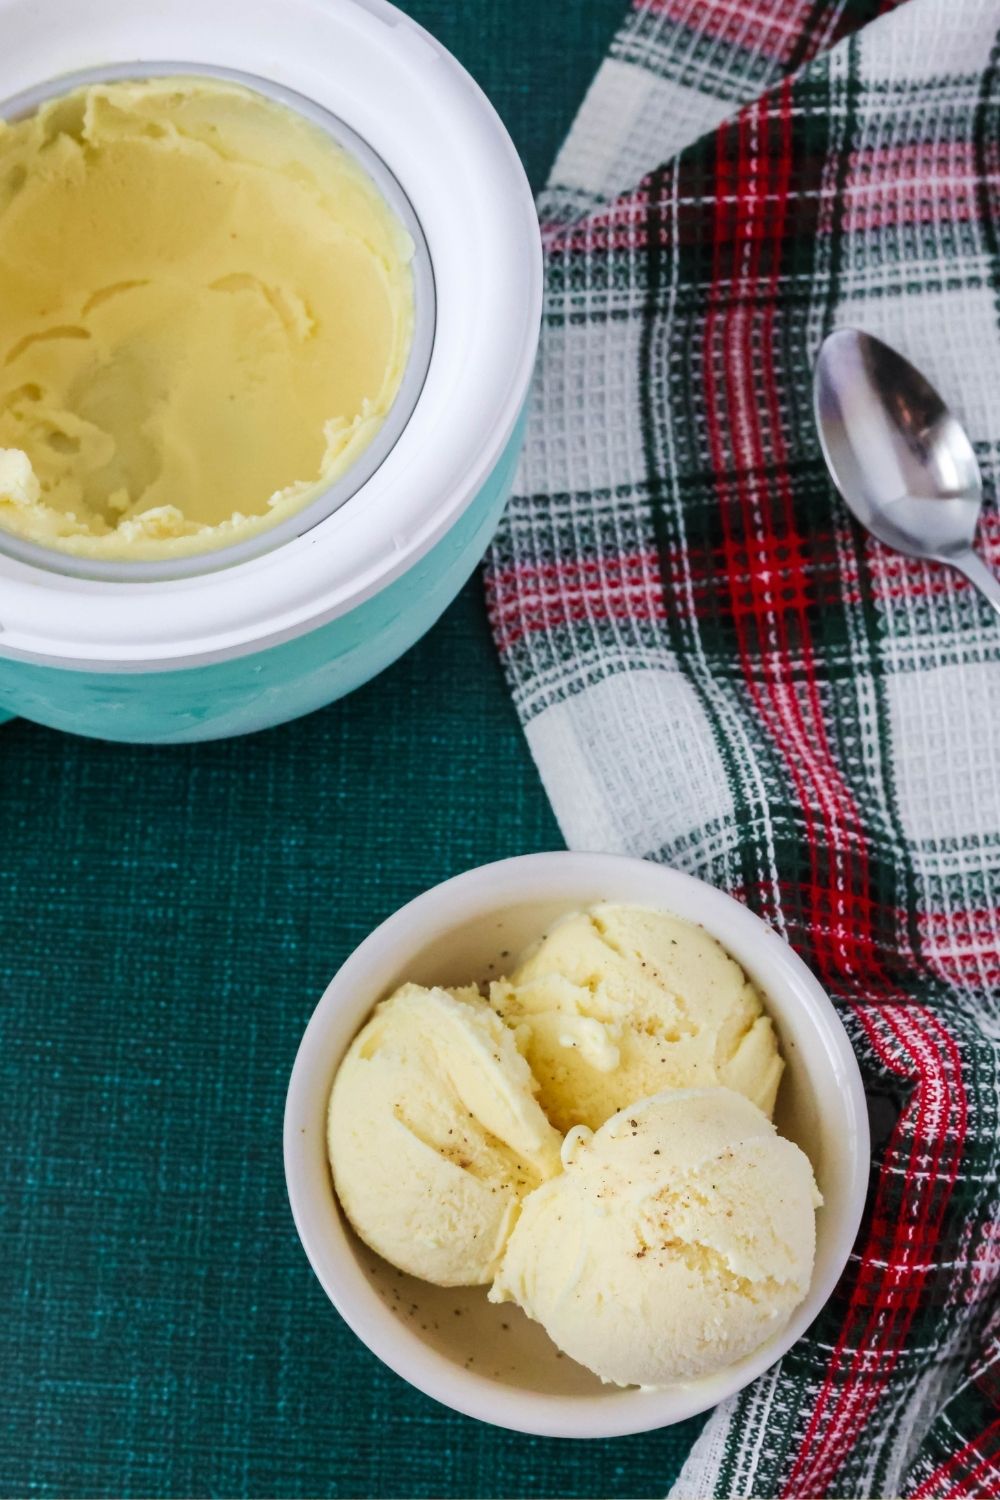
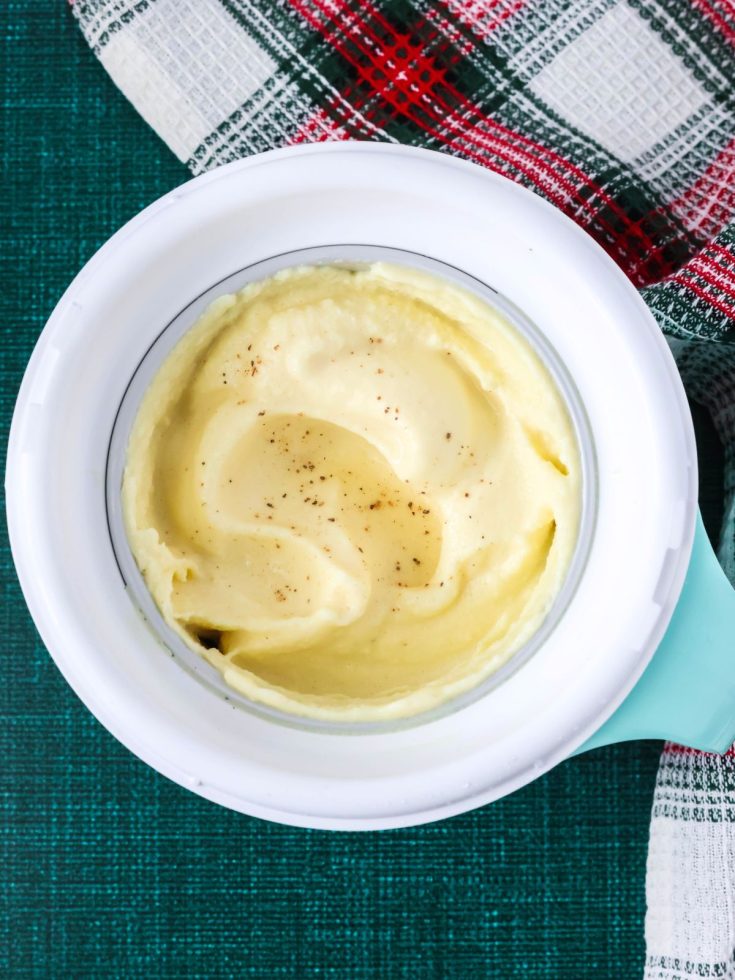
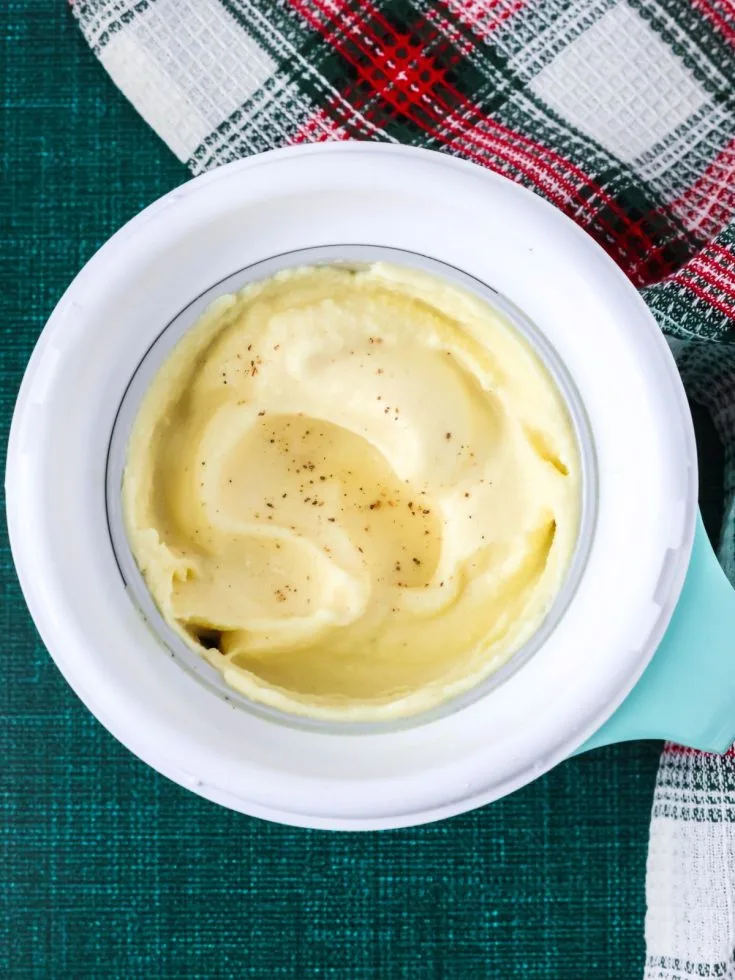
Churn. Next, you’ll let the ice cream churn for about 20-30 minutes, or until it reaches the texture of a soft serve ice cream.
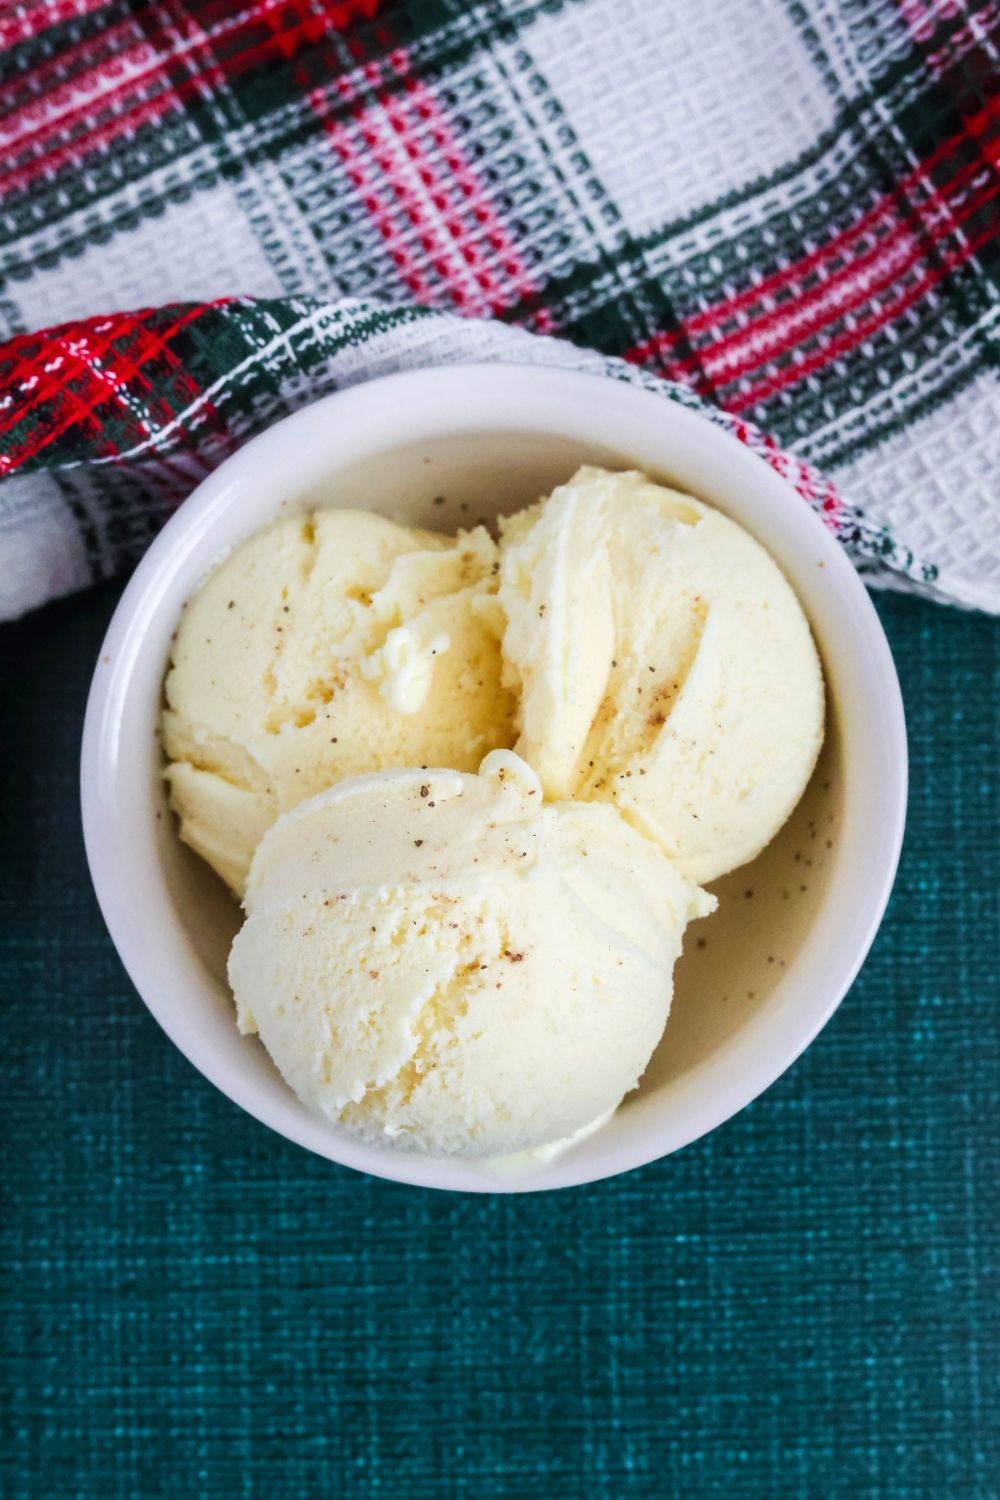
If you’d like, give it an extra sprinkle of ground nutmeg before serving!
You can enjoy this ice cream on its own, or serve it alongside some Christmas cookies, or use it to make a holiday affogato.


Notes and Adaptations:
- The resulting ice cream will be the consistency of a soft-serve ice cream. Enjoy as-is, or pop the mug into the freezer for a couple of hours to solidify further to a more scoopable texture.
- If you have the larger Dash My Pint machine, you should be able to simply double the recipe ingredients and churn for 20-30 minutes.

Recommended Equipment:
Dash My Mug Eggnog Ice Cream
Enjoy scoops of Dash My Mug eggnog ice cream this holiday season--it's the perfect accompaniment for Christmas cookies!
Ingredients
- 1 cup eggnog
- 1/8 teaspoon ground nutmeg (optional)
- 1/4 teaspoon vanilla extract (optional)
- 2 tablespoons of milk
Instructions
- In a liquid measuring cup, combine eggnog, nutmeg, vanilla extract, and milk.
- Remove Dash My Mug bowl from the freezer (it needs to have been freezing for at least 24 hours). Affix the dasher paddle to the My Mug lid, then attach the lid to the mug bowl. Press the power button to turn on. With the dasher spinning, gradually pour the ice cream mixture through the pour hole, into the bowl. Allow the mixture to churn for about 20 minutes, or until soft-serve consistency is reached.
- Power down the machine and remove the lid and dasher paddle.
- Sprinkle with another pinch of nutmeg if desired, then serve and enjoy!
Notes
- Technically, you can make this ice cream with just the eggnog. I like to add a little extra nutmeg and vanilla extract for a more pronounced flavor, but if you don't have any on hand, you can skip them.
- The resulting ice cream will be the consistency of a soft-serve ice cream. Enjoy as-is, or pop the mug into the freezer for a couple of hours to solidify further to a more scoopable texture.
- If you have the larger Dash My Pint machine, you should be able to simply double the recipe ingredients and churn for 20-30 minutes.
Recommended Products
As an Amazon Associate and member of other affiliate programs, I earn from qualifying purchases.


Nutrition Information:
Yield:
2Serving Size:
1Amount Per Serving: Calories: 122Total Fat: 6gSaturated Fat: 4gTrans Fat: 0gUnsaturated Fat: 2gCholesterol: 76mgSodium: 76mgCarbohydrates: 11gFiber: 0gSugar: 11gProtein: 6g
Nutrition information is automatically calculated and is not guaranteed for accuracy.


Be sure to save this recipe to your ice cream board on Pinterest!