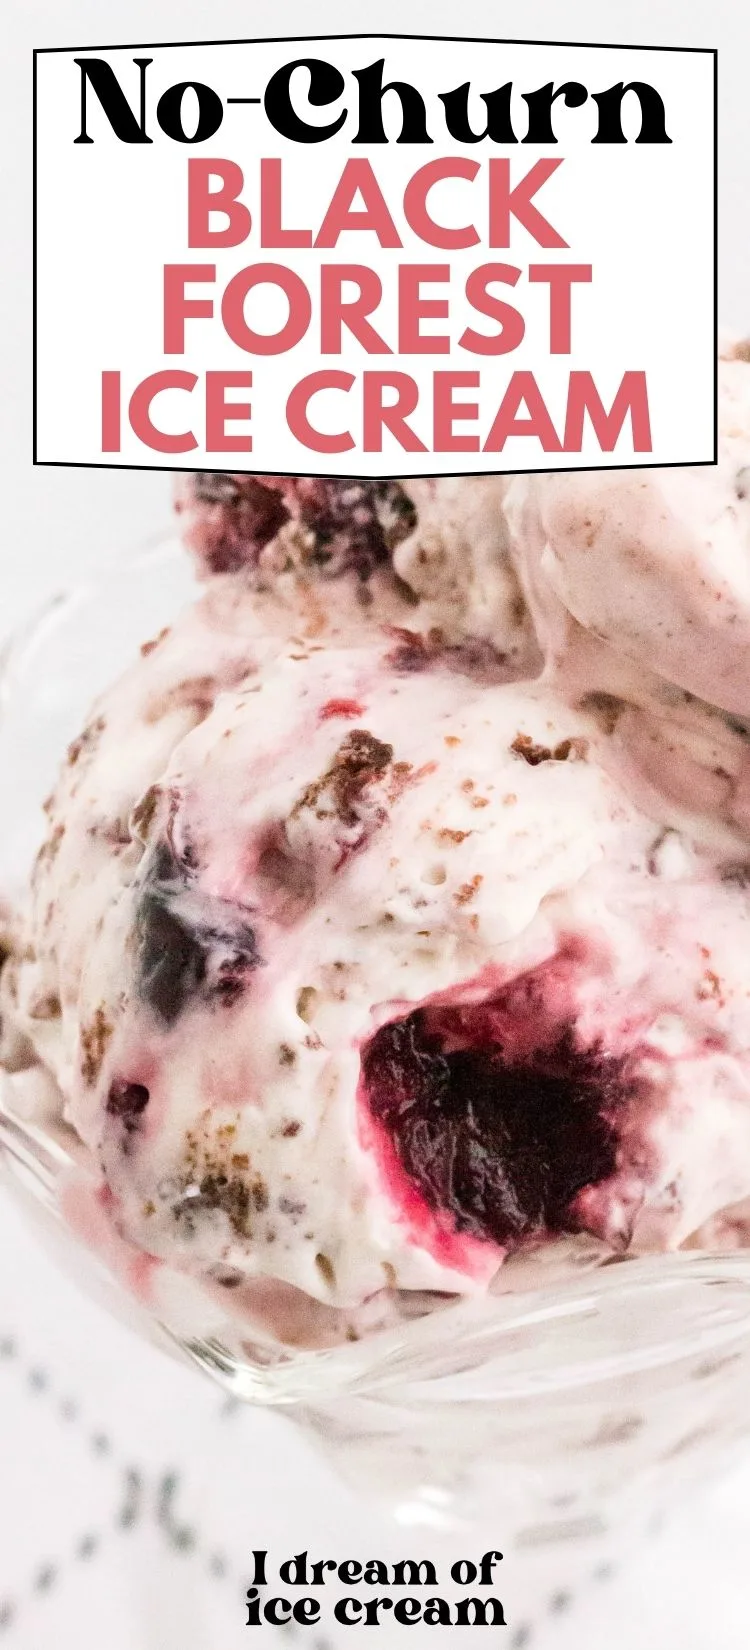
Black Forest cake ice cream is an easy yet decadent frozen treat that’s super easy to make!
Learn how to make no-churn Black Forest ice cream with just a handful of simple ingredients!


Note: This post may contain affiliate links for your convenience. You can read our full disclosure policy here.
If you’ve ever had a traditional Black Forest cake, you’ll know that it’s a delicious medley of chocolate sponge cake, cherry sauce, and vanilla cream.
Because I love the flavor pairings in that dessert, I decided to create a homemade ice cream version. Not only was it super easy, but the result was a delicious yet refreshing treat.
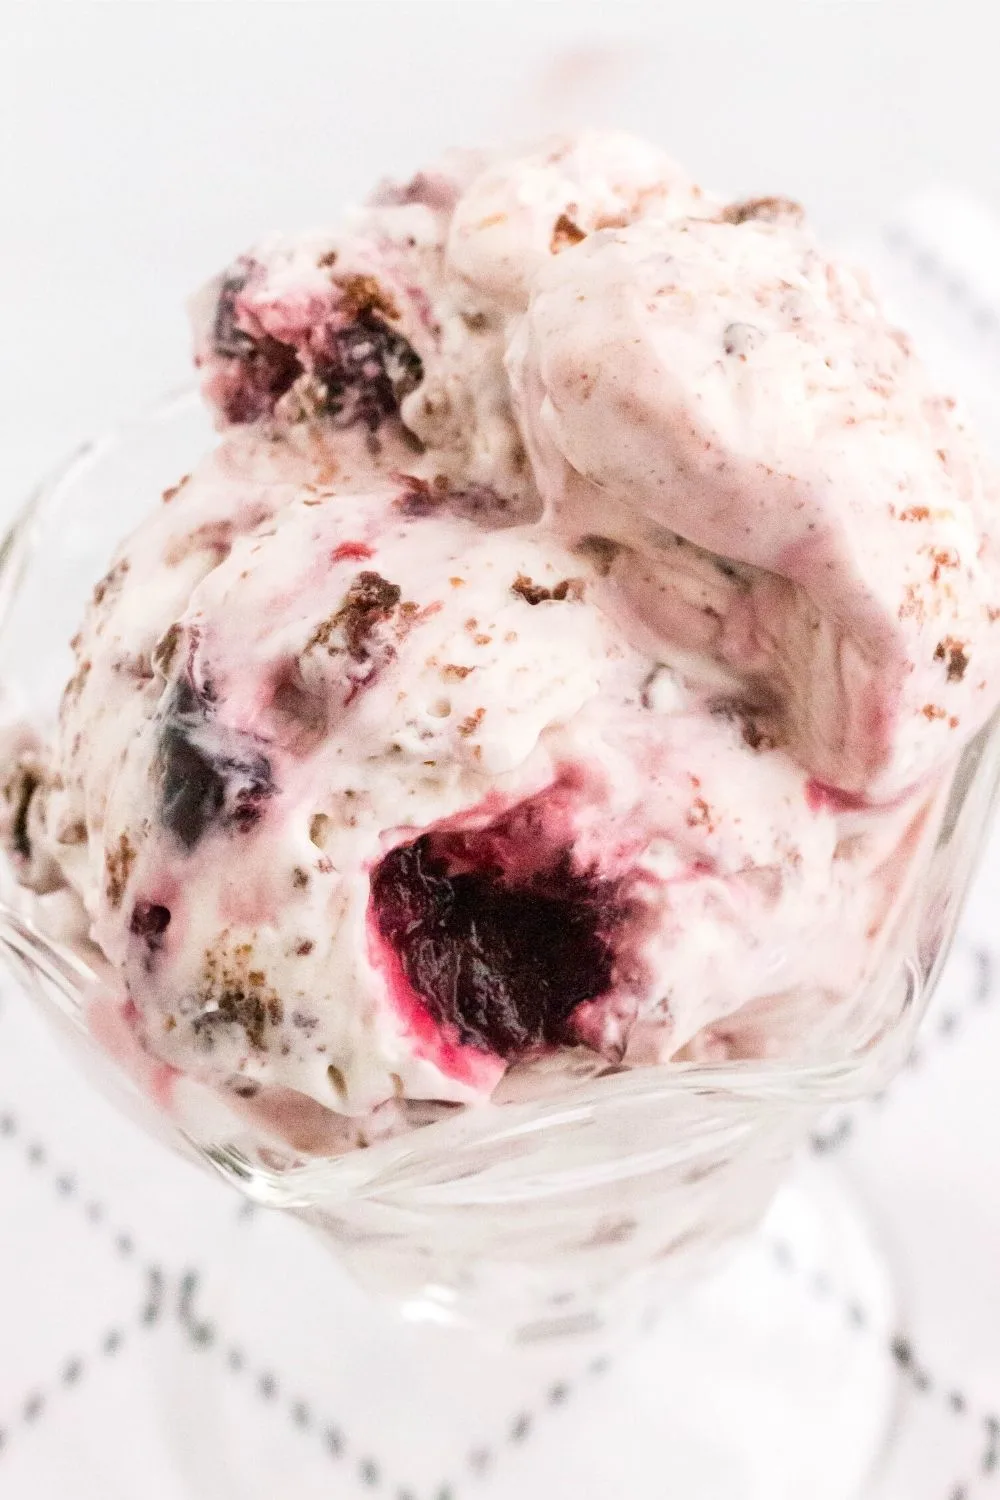
Vanilla ice cream is combined with a homemade sauce made with sweet cherries, plus it’s chock full of dark chocolate brownie bites.
It’s similar to a chocolate cherry ice cream, and you don’t even need an ice cream maker to enjoy this decadent dessert!


Easy Black Forest Ice Cream Recipe
One thing I love about making a no churn ice cream recipe is that you don’t need to worry about freezing an ice cream bowl ahead of time, which can take quite a while.
In fact, you don’t even need any special kitchen gadgets to create rich and creamy ice cream.
Instead, we use sweetened condensed milk to give the ice cream base its sweetness. Fluffy whipped cream provides the creaminess we know and love.
Homemade cherry compote is used along with brownie pieces to create a black forest sundae type ice cream. So simple!
More Delicious Recipes for Ice Cream:
- Sugar-Free Chocolate Ice Cream
- Easy Red Velvet Ice Cream
- Mississippi Mud Ice Cream
- Chocolate Marshmallow Ice Cream
- Ninja Creami Cherry Chocolate Ice Cream
- Ninja Creami Vanilla Pudding Ice Cream
- No-Churn Turtle Ice Cream
- No-Churn Cotton Candy Ice Cream

How to Make Black Forest Ice Cream without an Ice Cream Maker
It’s easy to make this delicious treat with just a few simple ingredients.
Ingredients You’ll Need:
- Dark sweet cherries (frozen or fresh)
- Granulated sugar
- Heavy cream
- Pure vanilla extract
- Sweetened condensed milk
- Brownie chunks
How to Make it:
(Full printable recipe card is located below)
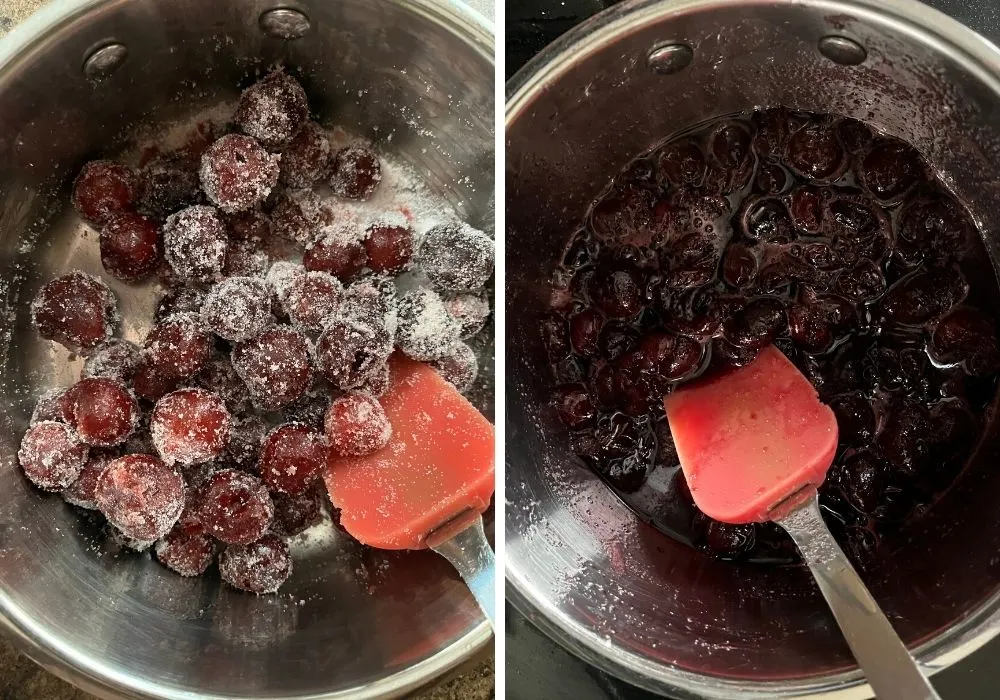
Prepare cherry sauce. Combine cherries and sugar in a medium saucepan, stirring to coat. Simmer over medium heat, stirring often, until sugar is dissolved and juices have released from cherries.
The liquid will thicken slightly. I like to press the cherries gently as they cook. Allow the cherry mixture to cool completely.

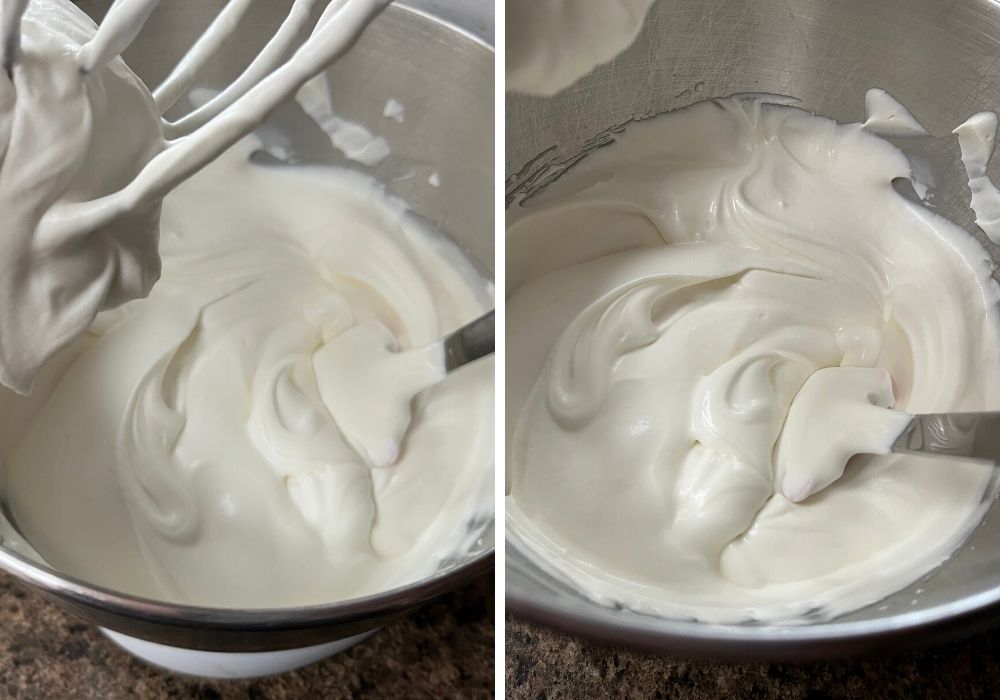
Prepare the ice cream base. Pour heavy cream and vanilla extract into the bowl of a stand mixer fitted with the whisk attachment (or in a large mixing bowl with an electric hand mixer).
Beat the cream on high speed until stiff peaks form.

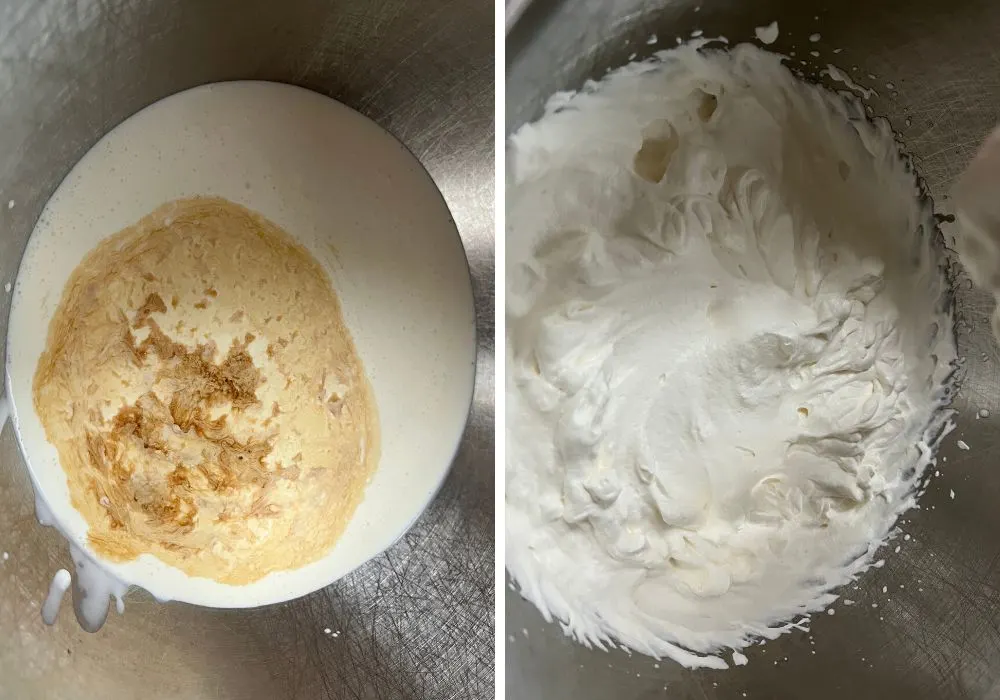
Add in the sweetened condensed milk, mixing on low-medium speed just until incorporated. Scrape down the sides of the bowl as needed.

Add brownies. Fold the brownie chunks into the creamy base, just until incorporated. They may break apart a little bit when mixing, which is fine.


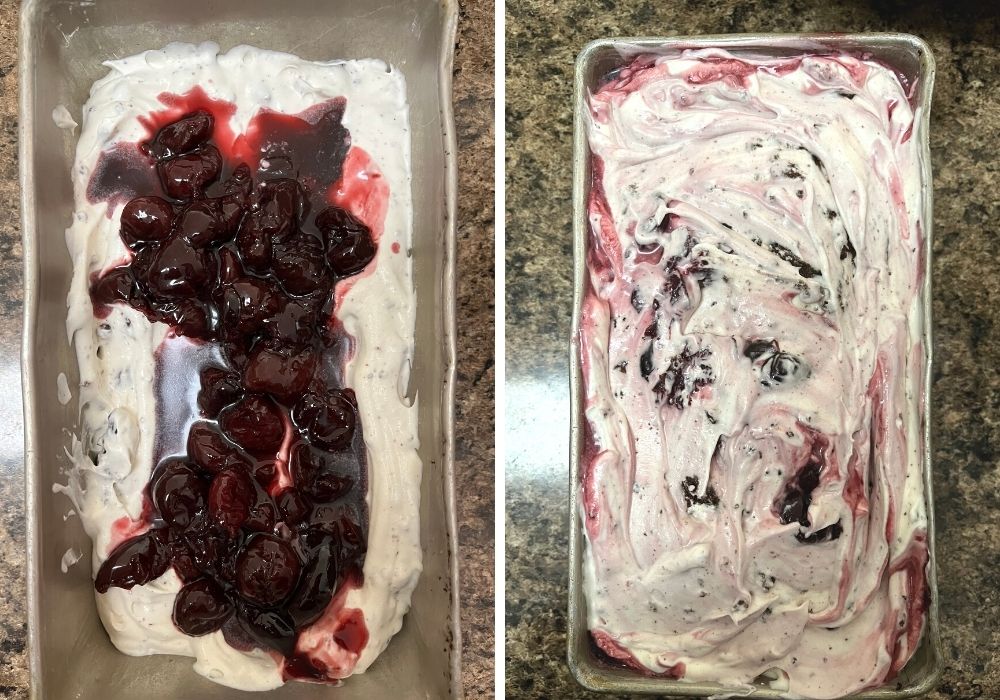
Layer and mix. Pour half of the ice cream base into a 9×5″ loaf pan or other freezer-safe container.
Spoon about 1/2 of the cherry mixture over the base, then use a knife to swirl the cherries into the cream.
Repeat by layering the rest of the ice cream mix on top, followed by another 1/2 of the cherry mixture (if desired, you can reserve some of the cherry sauce to use as a topping when serving).
Freeze. Cover the loaf pan with plastic wrap and freeze for at least 8 hours, or until completely frozen through.

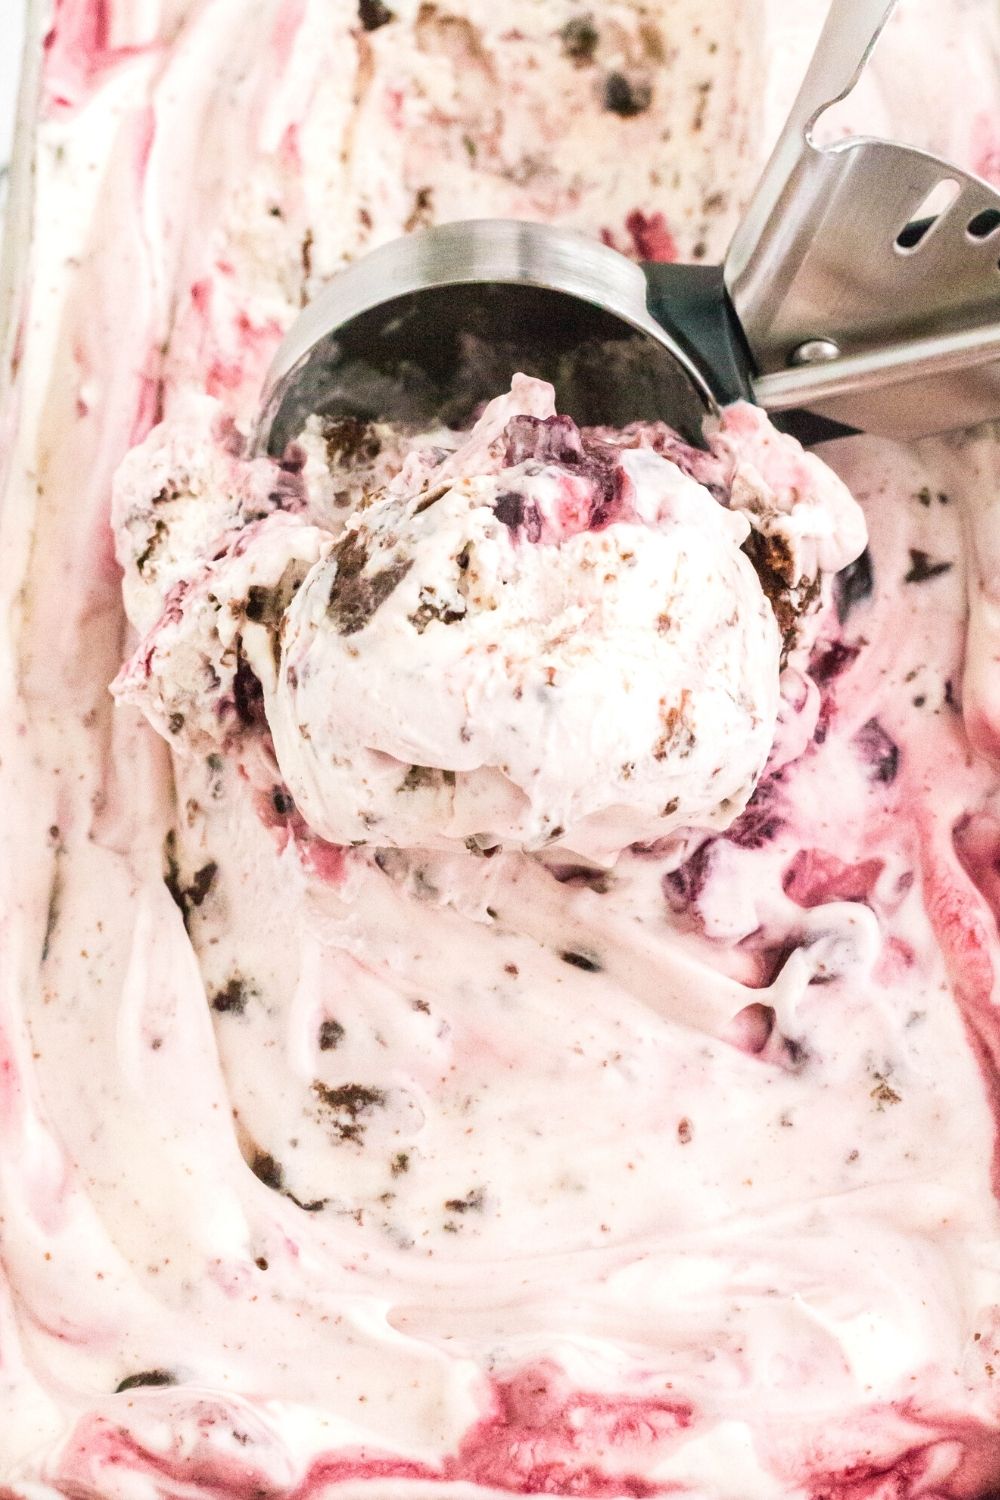
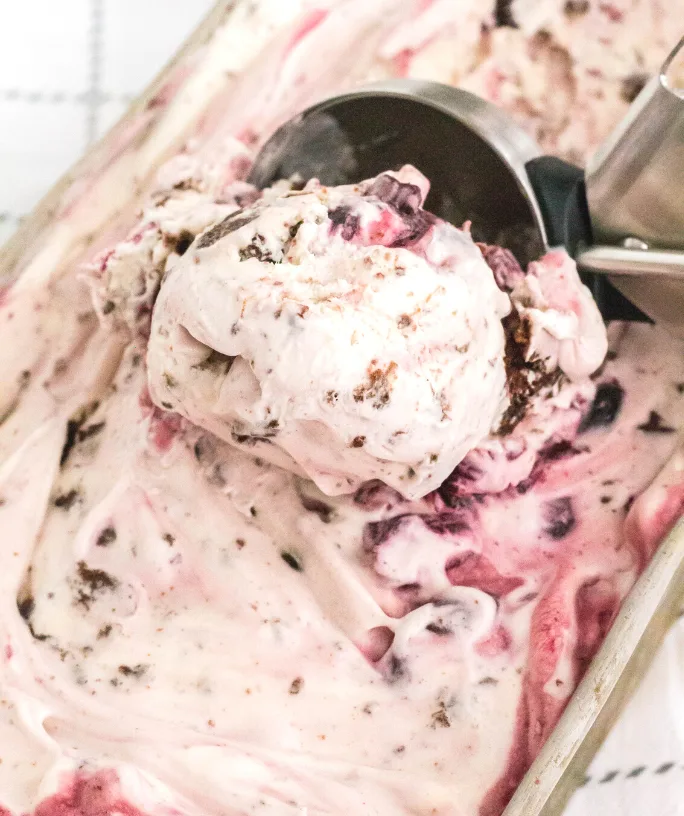
When you’re ready to serve, you may need to let the container sit out at room temperature for 10-15 minutes to soften slightly.
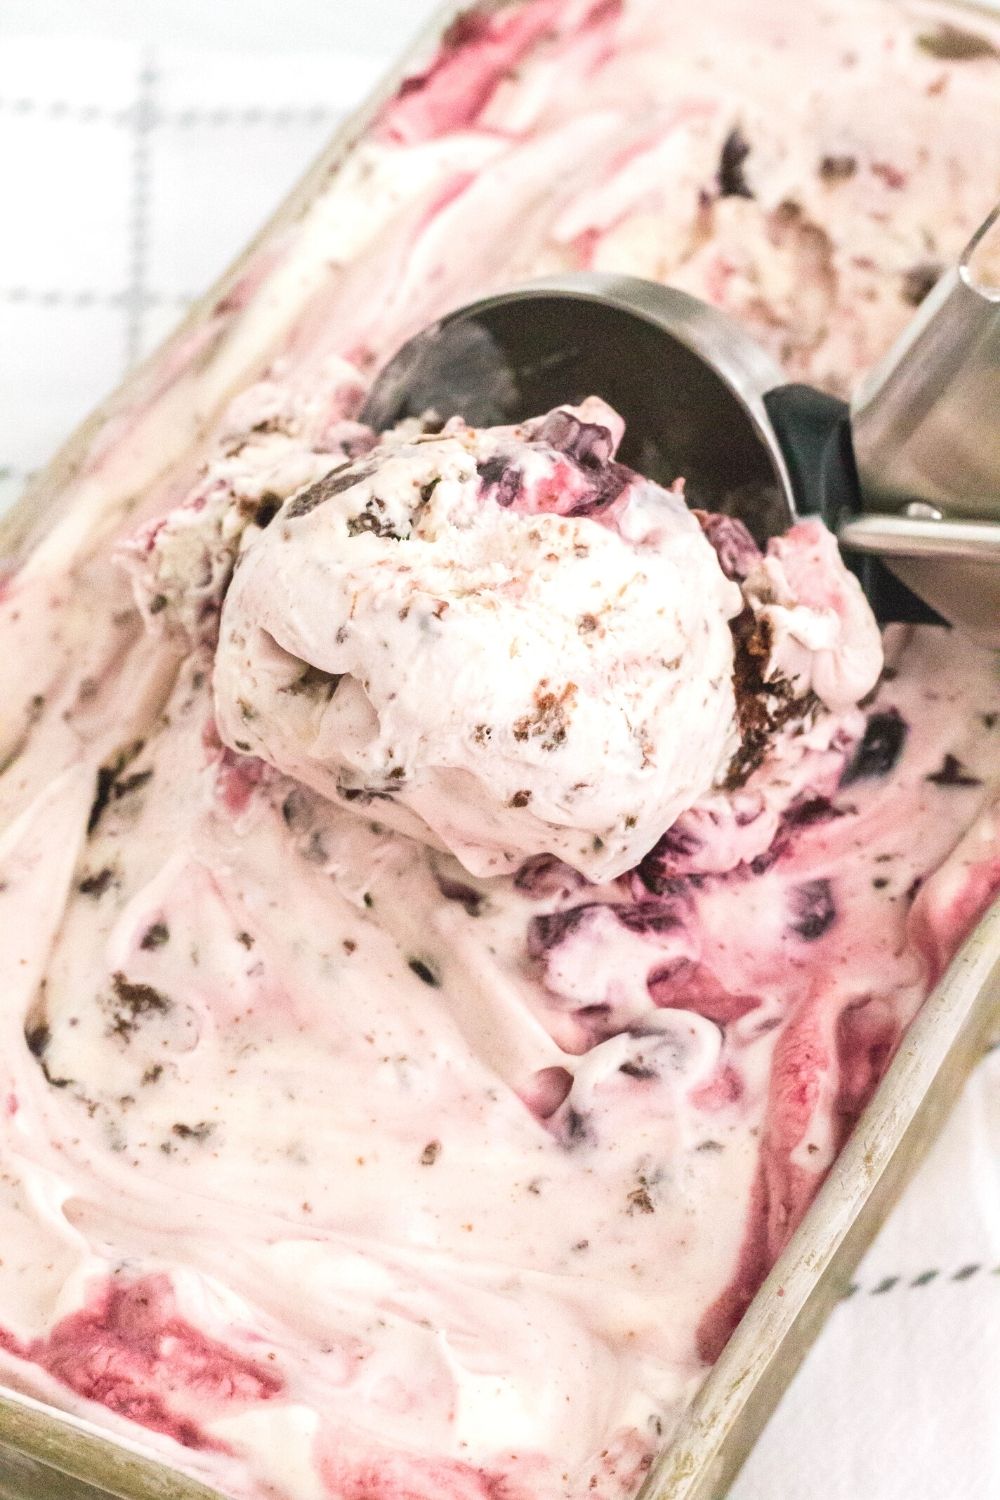
Then, you’re ready to scoop and serve!

Notes and Adaptations:
- I use frozen cherries, but you can substitute fresh cherries if preferred. I prefer sweet cherries rather than sour cherries. If you don’t want to make your own cherry sauce, you can use a can of cherry pie filling.
- When preparing cherry sauce, you can add a splash of cherry liqueur if desired.
- I used chunks of prepared brownies, but you can also use cubed chocolate cake, chocolate chips, or even chopped Oreo cookies.
- Feel free to garnish the ice cream with additional cherries and chocolate shavings or hot fudge sauce if you’d like.

Recommended Equipment:
- Stand Mixer or Electric Hand Mixer
- Ice cream container – I like this insulated container for transporting ice cream, or these containers for easy storage. You can also use a 9×5″ loaf pan.
- Ice cream scoop – My two favorites are this scoop and this more traditional variety.
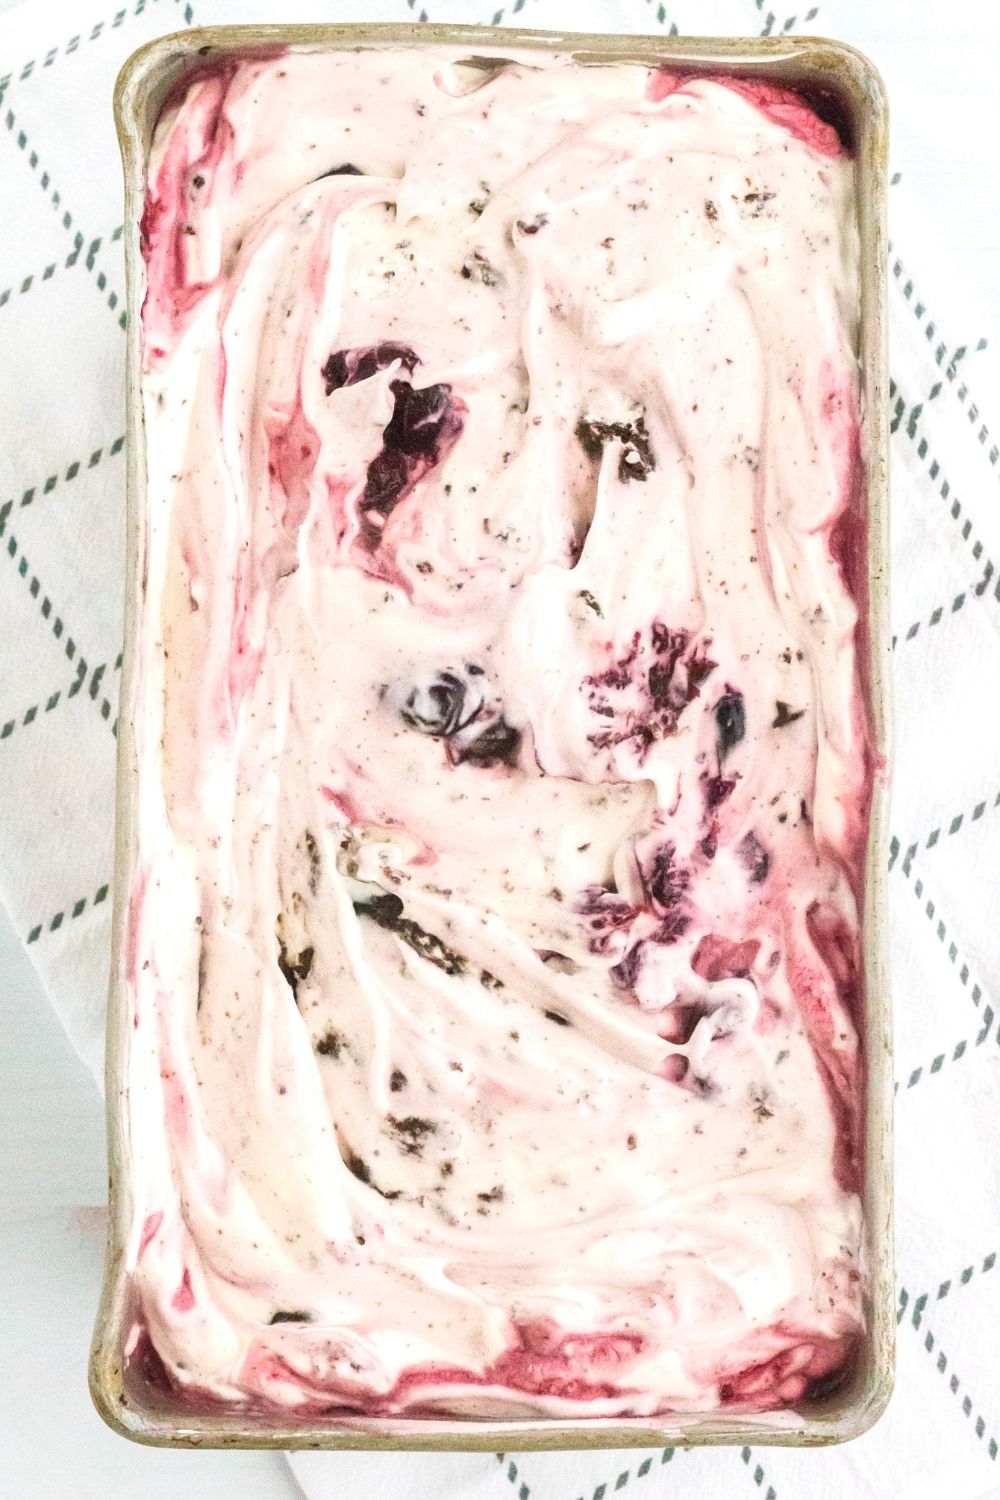
No-Churn Black Forest Ice Cream

This decadent Black Forest ice cream is chock full of cherries and chocolate, making it an easy and impressive treat!
Ingredients
- For the Cherry Sauce:
- 2 cups frozen dark sweet cherries (16-oz bag)
- 1/4 cup granulated sugar
- For the Ice Cream:
- 2 cups heavy whipping cream
- 1 tsp vanilla extract
- 14-oz can sweetened condensed milk
- 2 1/2 cups brownie chunks
Instructions
- In a medium saucepan, prepare the cherry sauce by combining frozen cherries and sugar.
- Cook over medium heat until sugar dissolves, cherries are soft, and juices have released. Set aside to cool completely.
- Once cherries have cooled, prepare ice cream base by adding heavy whipping cream and vanilla extract to the bowl of a stand mixer fitted with a whisk attachment (or a large mixing bowl with a handheld electric mixer).
- Beat cream on high speed until stiff peaks form.
- Reduce mixer speed to low and gradually add the sweetened condensed milk, mixing until combined.
- Fold brownie chunks into cream mixture, gently mixing to incorporate.
- Transfer half of the ice cream mixture to an ice cream container or loaf pan, spreading evenly.
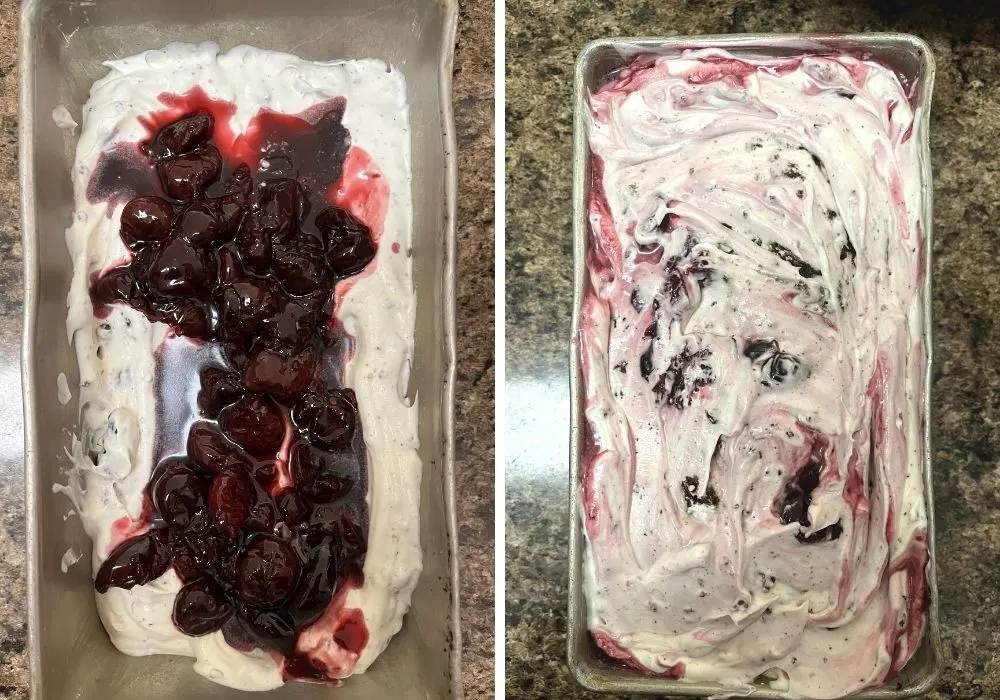
- Add half of the cherry mixture over the ice cream mixture. Use a knife to swirl the cherries into the ice cream base.
- Add remaining ice cream mixture on top, followed by the remaining cherry mixture. Use the knife to swirl together again.
- Cover the container and transfer to the freezer. Freeze for at least 8-10 hours, or until solid, before scooping and serving.
Notes
- I use frozen cherries, but you can substitute fresh cherries if preferred. I prefer sweet cherries rather than sour cherries. If you don't want to make your own cherry sauce, you can use a can of cherry pie filling.
- When preparing cherry sauce, you can add a splash of cherry liqueur if desired.
- I used chunks of prepared brownies, but you can also use cubed chocolate cake, chocolate chips, or even chopped Oreo cookies.
- Feel free to garnish the ice cream with additional cherries and chocolate shavings or hot fudge sauce if you'd like.
- If needed, let the ice cream sit out at room temperature for 10-15 minutes to soften before scooping.
Nutrition Information:
Yield:
12Serving Size:
1Amount Per Serving: Calories: 531Total Fat: 32gSaturated Fat: 15gTrans Fat: 0gUnsaturated Fat: 15gCholesterol: 94mgSodium: 230mgCarbohydrates: 57gFiber: 1gSugar: 33gProtein: 8g
Nutrition information is automatically calculated and is not guaranteed for accuracy.
Be sure to save this recipe to your ice cream board on Pinterest!